HP 2920 Switch - Reboot issue on firmware ver 15.18.0006 #vDM30in30
Updated 25.11.15 Firmware WB.15.18.0007 resolves the issue, see below A colleague of mine found an issue with the latest HP 2920 switch firmware. If you create…
Read guide →33 practical Networking guides and field notes. Page 2 of 7.
Updated 25.11.15 Firmware WB.15.18.0007 resolves the issue, see below A colleague of mine found an issue with the latest HP 2920 switch firmware. If you create…
Read guide →Hi, Only a quick post, but after my last bashing of HP virtual connect. I've had to endevour another upgrade for a different customer. This time with two HP…
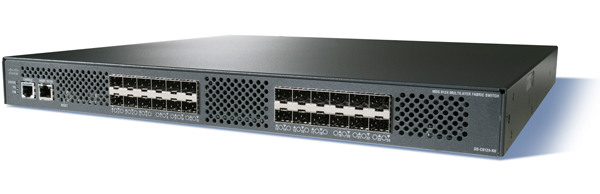
Read guide →My most recent customer engagement, was to re-use some older hardware as vSphere disaster recovery. The kit includes a EMC Clariion SAN, and two Cisco MDS 9124…
Read guide →Here I am going through how to setup LACP port trunking for a Synology NAS device using HP Switching. 1. First off get your MAC Addresses of your Synology NAS…
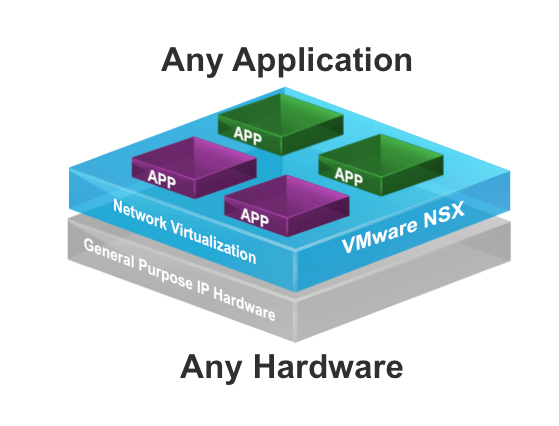
Read guide →VMware released a free course around Network Virtualization Fundamentals, which maps to the first steps on the ladder for all things NSX. It is also…
Read guide →