- Part 1 – Setting up Fabric Interconnect, and UCS Manager settings
- Part 2 – Configuring Connectivity & Setting up the policies and Service Profiles
- Part 3 – Deploying ESXi via KVM onto FlashFlex (SDCard)
- Part 4 – Upgrading the Firmware
This is the final part of the series, where I cover off installing ESXi 6.0 onto the blade of the UCS system.
- Setting up the SD Cards (FlexFlash)
- Installing ESXi via KVM
Note: Please check your firmware is at the correct level needed. You can see this guide for upgrade the firmware.
Setting up the SD Cards (FlexFlash)
To prep the SDCards for install, and use in RAID1 should an SD card fail, you must create two scrub policies. And configure the local storage config as per the part 2 article.
Note: FlexFlash is supported from Firmware 2.2 (d1) and later
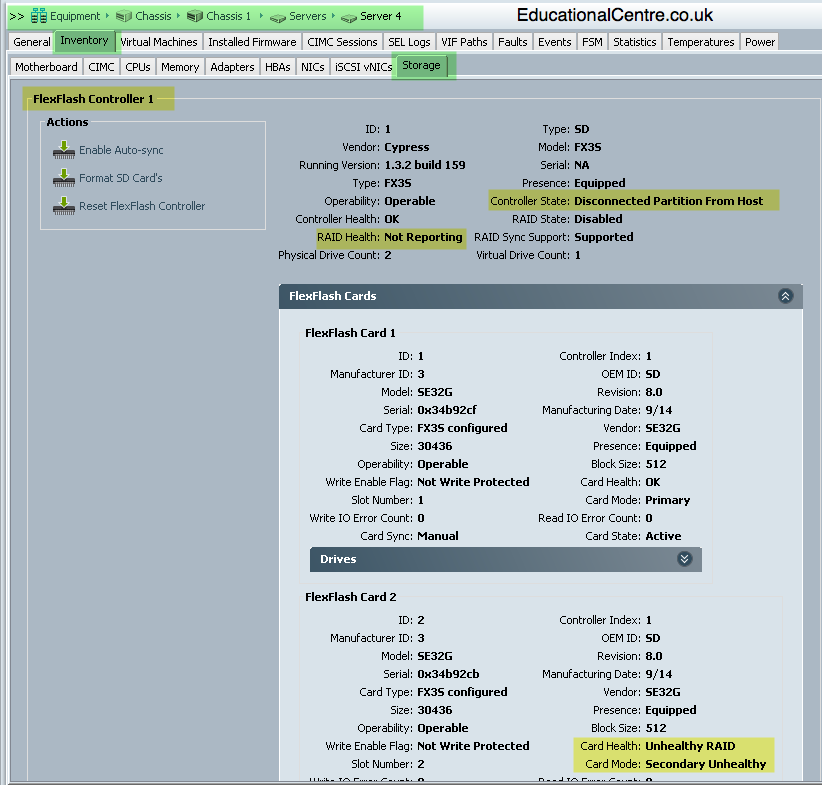
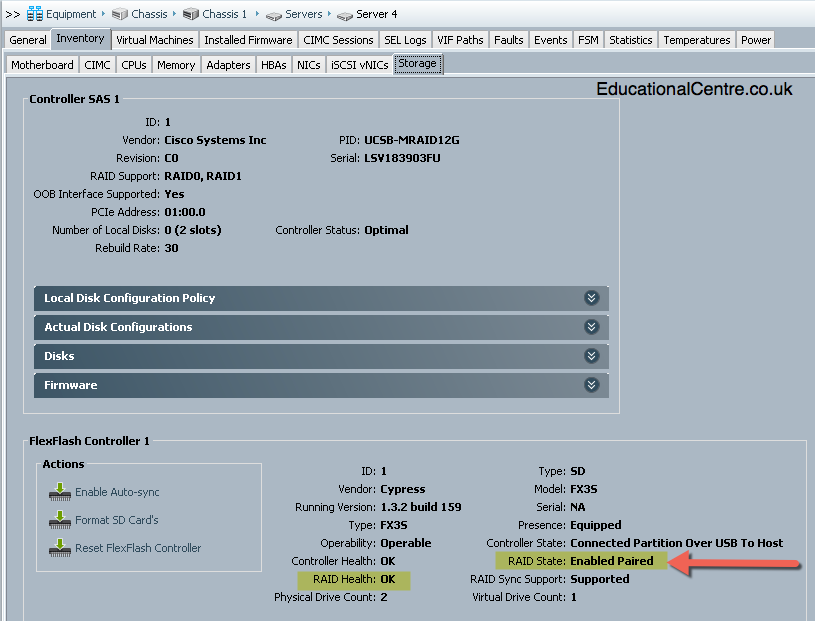
If you look at a Blade Server Storage inventory and scroll down to the FlexFlash Controller section, you will notice a few signs stating the use of SDCards is not configured correctly.
Then when you apply the Service Profile to the host, f you tried to install an OS onto the SDCards, they do not appear as an option.
So go to the Server tab > Scrub Policies and create two new Scrub Policies.
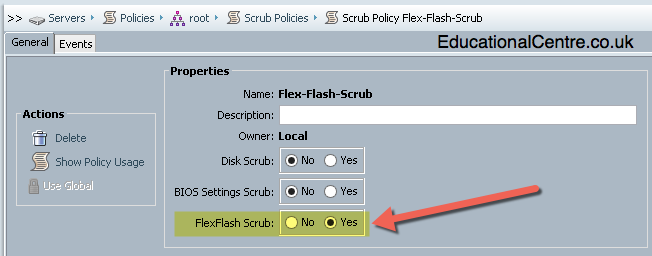
- One called Flex-Scrub or similar
- Disk Scrub = NO
- Bios Settings Scrub = NO
- FlexFlash Scrub = YES
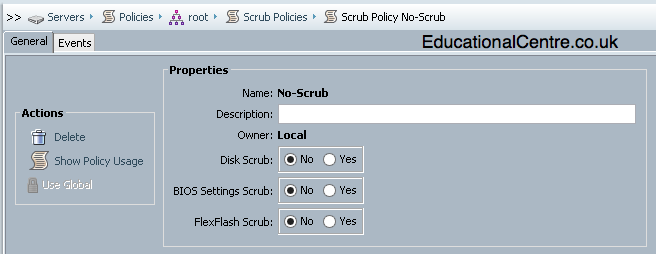
- One called No Scrub
- Disk Scrub = NO
- Bios Settings Scrub = NO
- FlexFlash Scrub = NO
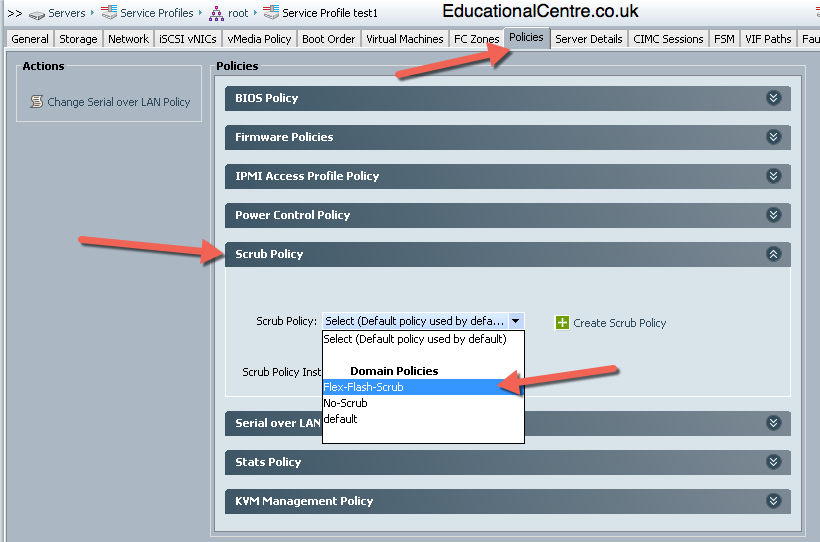
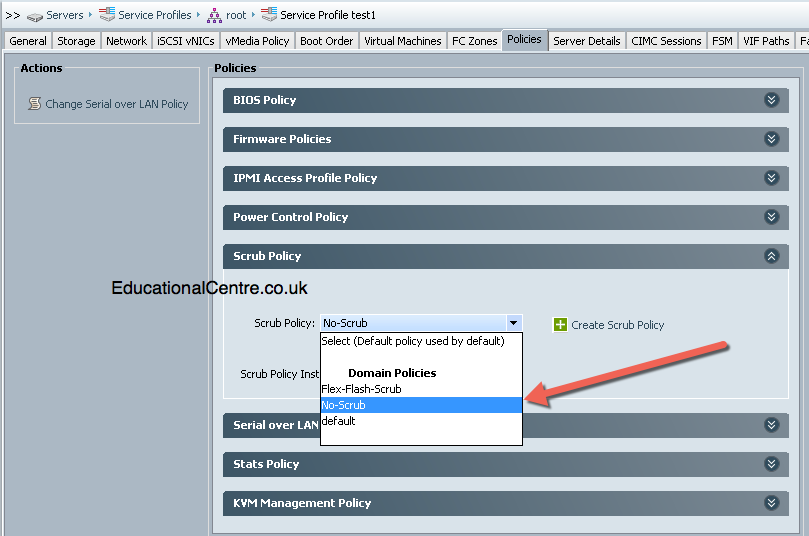
- Now set the Service Policy that your Server is attached to, to use the Flex-Scrub policy and click save.
- This is found under Policies > Scrub Policies
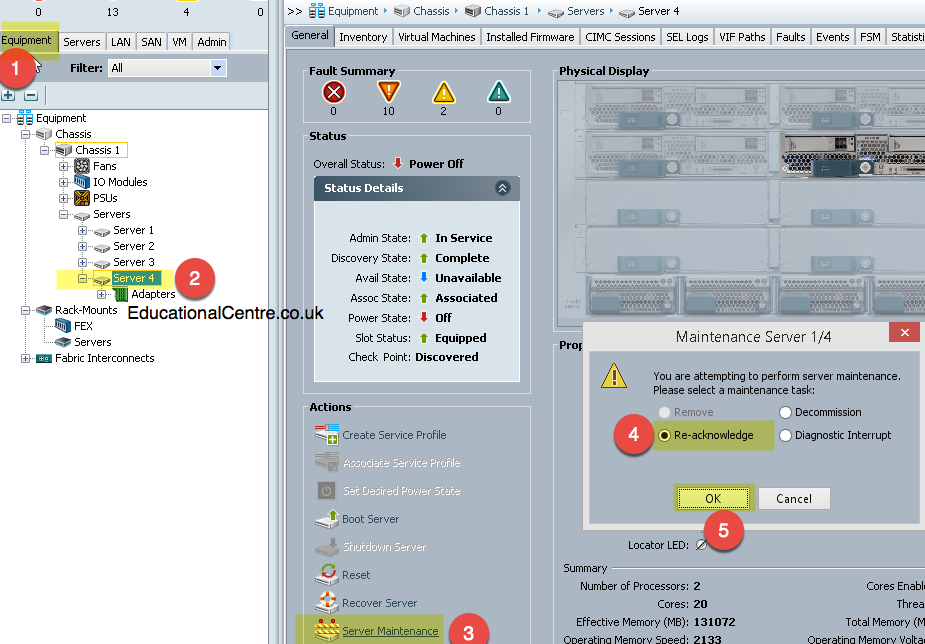
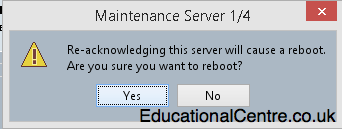
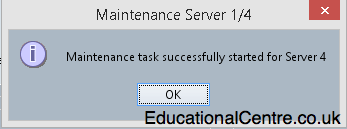
- Go to the Server Tab, click on your Server, then Server Maintenance > Re-Acknowledge
- This will Scrub the SD Flash Cards
- Now go back to your Service Policy and change the scrub policy to the No-Scrub policy and do the same steps again to Re-acknowledge the server.
- Now you have set the policy to scrubed and reset the server, then changed the policy to no-scrubedand reset the server, going back to the inventory > Storage, you should seethefollowingfortheFlexController
- Raid State = Enabled Paired
Ok so now thats done, we can install ESXi
Installing ESXi via KVM
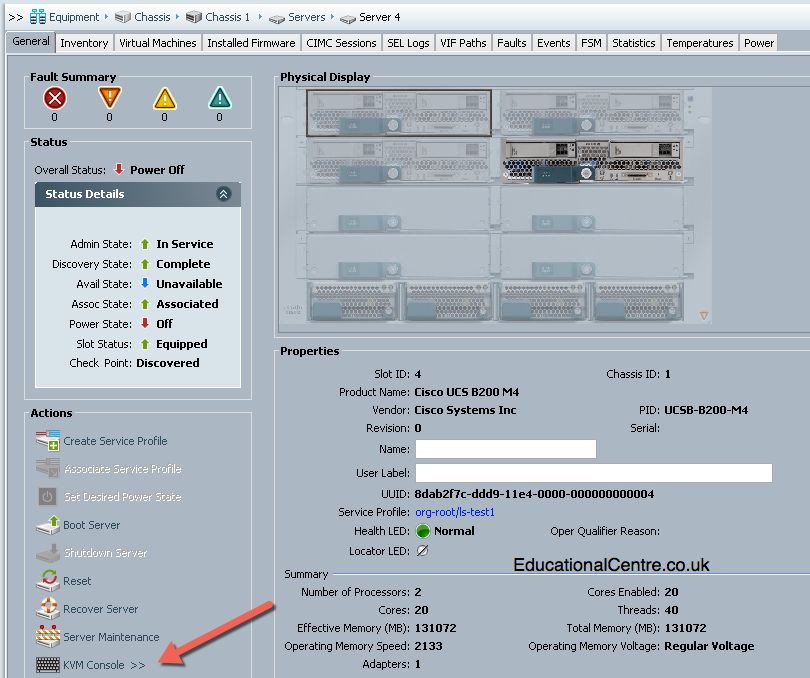
You can either Launch the KVM via the Java App on the Equipment tab > Click on your server, then KVM Console,
Or you can do this by connecting to the KVM Manager (IP address of Fabric Interconnect then KVM Manager icon).
- Once on your KVM Console
- Click on Virtual Media > Activate Virtual Media
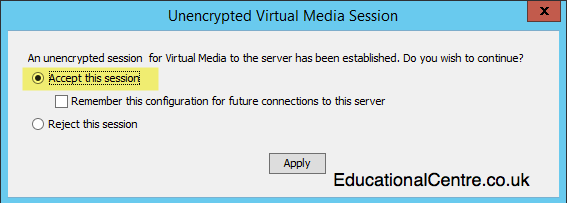
- Accept the session (Java based message)
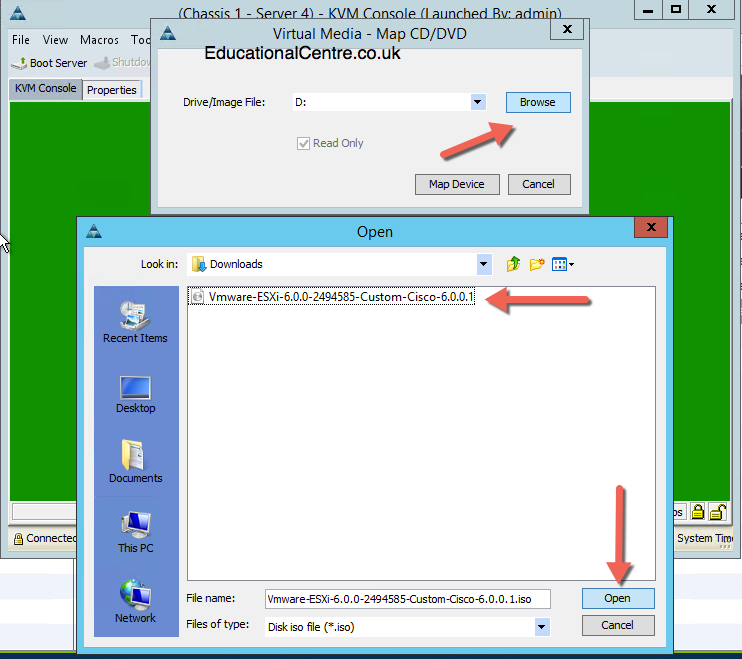
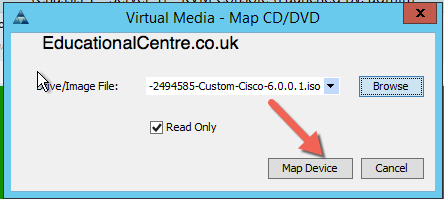
- Click on Virtual Media > Map CD/DVD
- Select your ISO File
- You can check its mapped correctly by going to Virtual Media, and seeing the ticks against the relevant settings
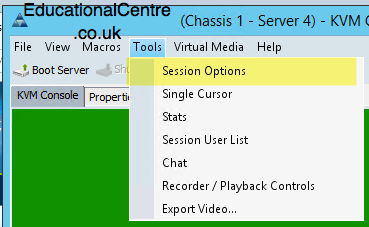
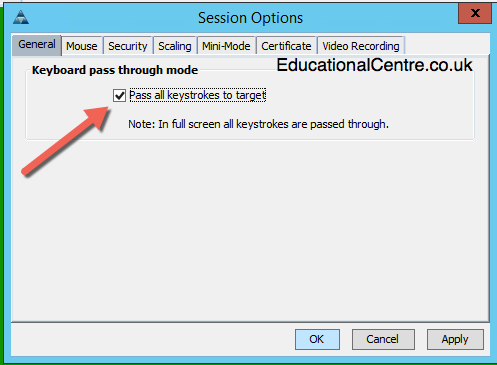
It’s also worth noting at this moment in time, that you should probably change your keyboard settings to “Pass all keystrokes to target”
- This can be do in Tools > Session options
This will ensure if you’re using a Laptop extra, keys like F11 won’t try to active Laptop based hotkeys!!!!
- Now boot your server
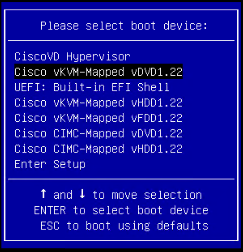
- Press F6 to enter the boot menu
- Select “Cisco VKVM-Mapped vDVD”
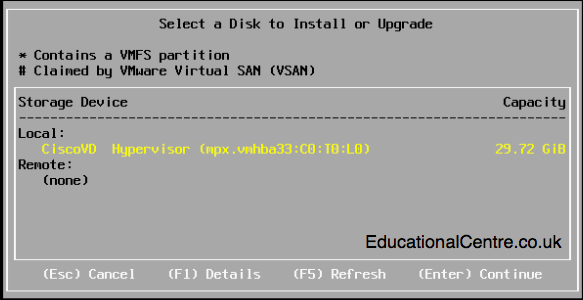
Once booted, select the SD Card to install upon, and your away, once installed, proceed as you normally would setting up ESXi.
So thats it!
The final part of this series, Part 4 covers off how to update the firmware of the UCS platform
Regards
Dean
Follow @saintdle





Just a heads up, you can now skip the scrub on the SD cards and just format them in the GUI and then install ESX to them. was very happy so see that change put in.
I did notice that option has now appeared, but I wasn’t sure, I’ll do some more research on this and then update the post
Seconded, the scrub policy madness has been replaced. I too was very pleased when this change was made, and so were my customers. 🙂