This is a continuation piece regarding the integration of Nimble Storage to the Veeam Backup & Replication software in the upcoming release 9.5.
- So what does the integration give us?
- The test environment
- Adding the Nimble Storage Array into Veeam
- Configuration
- Nimble Audit Logs
Part 2
- Now we’ve added the Nimble Storage Array
- What can we do with Snapshots?
- Controlling Nimble Storage snapshots and restoring files from the Veeam console
- Backing up a Virtual Machine from a Nimble Snapshot
- Backing up a Virtual machine to a Nimble Snapshot (Snapshot-only Job)
- Replicating a Virtual Machine from a Nimble Snapshot
- SureBackup from Nimble Snapshots
Following on from part one of this first look two part blog series, where we added the Nimble Storage Arrays into the Veeam software, we continue to see how this integration piece works.
Now we have added the Nimble Storage Array
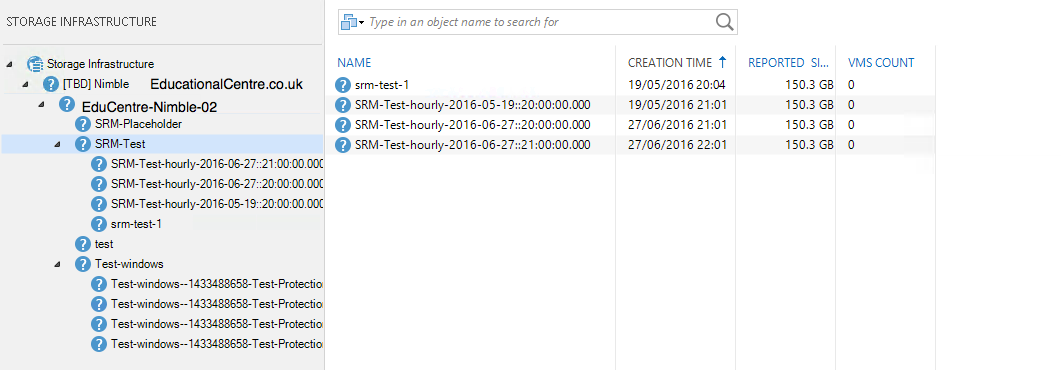
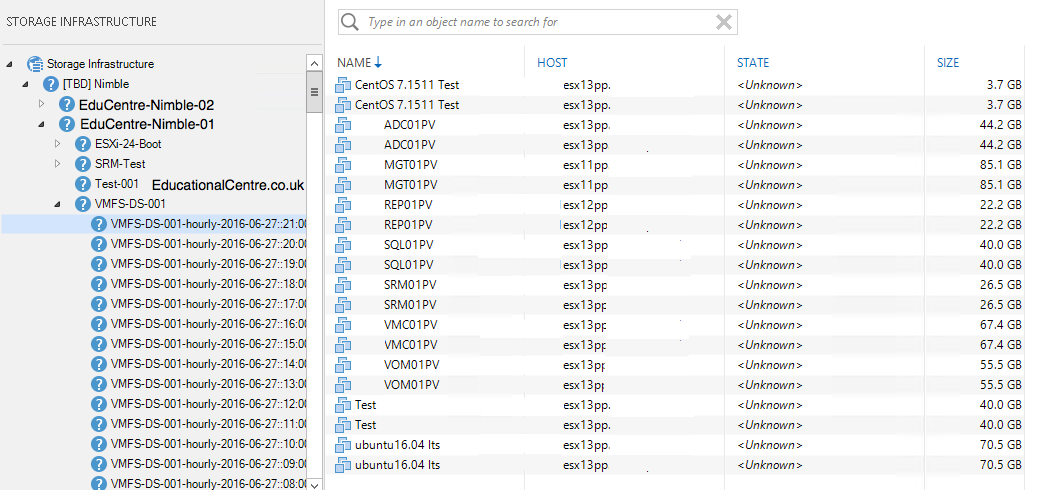
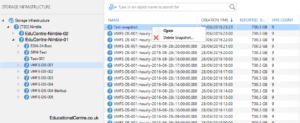
So before we get started, we can now see the datastores of the Nimble Storage Array, and the snapshots of each datastore. In the second screenshot, we can see the enumeration of VMware virtual machines and which host they are were attached to.
Controlling Nimble Storage snapshots
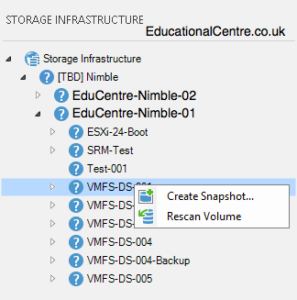
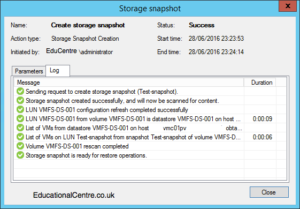
As you come to expect with Veeam, they keep it simple, and you can kick off manual snapshots from within the Veeam console.
- Storage infrastructure > Select your Nimble Array > Select your Volume
- Right click > Create Snapshot
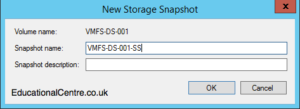
- Enter the name for your snapshot (a default one will be provided)
Restoring files from the Veeam console
More of the keeping it simple, in the Backup and Replication view;
- Select Storage Snapshots > Select the Volume
- Select the Virtual Machine
- Choose the restore type
- Instant Virtual Machine Recovery
- Guest Files | Windows | Linux
- Application Items | Active Directory | Exchange | SharePoint| SQL | Oracle
Below is the end to end process to restoring guest files
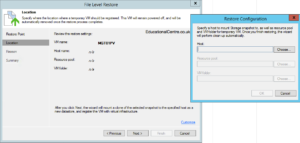
- Right click your VM > Restore guest files > Microsoft Windows (in this example)
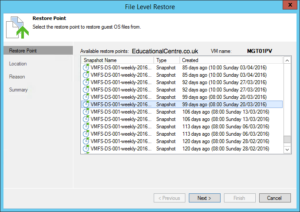
- Select the Storage Snapshot
- Choose which vSphere resource to restore the VM to, this will be kept offline, but used to access the files via VMware VIX
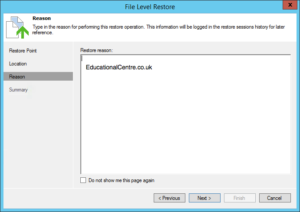
- Enter your Reason for the restore (if necessary)
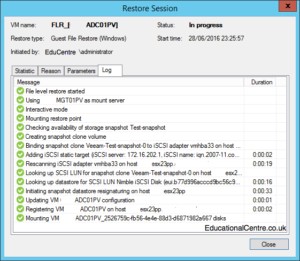
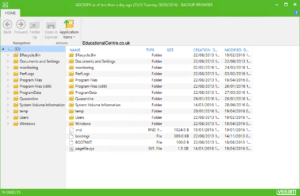
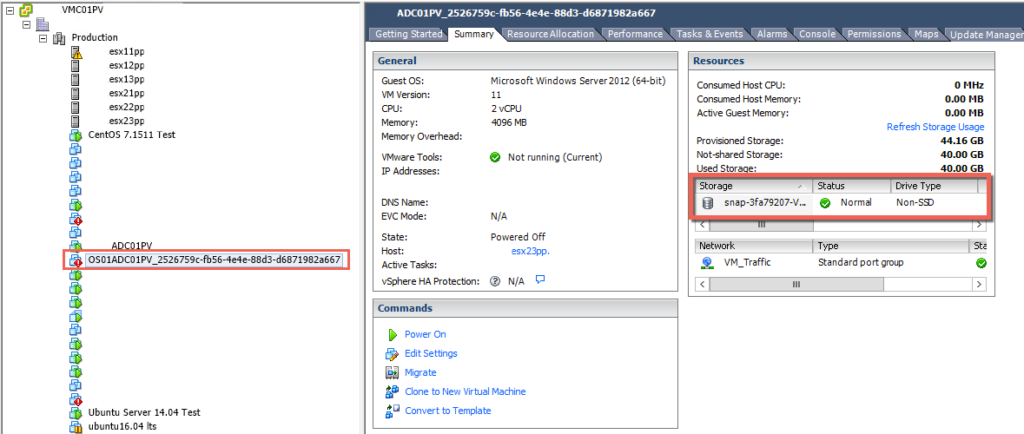
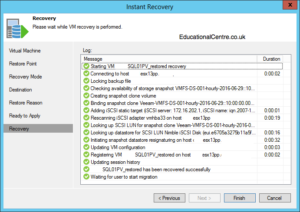
As with the normal Veeam restore process, we get the session information and the Veeam explorer window. And a quick screenshot of the restored VM in vCenter, hosted from a storage snapshot.
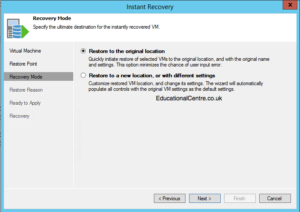
Here is a summary of the Instant VM recovery from a Nimble Storage Snapshot, its very similar to that of doing it from a file based backup.
- Choose your Volume > VM > Instant VM recovery > Snapshot Restore point
- Recovery Mode > Original Location | Restore to a new location
Note from the Beta Admin Guide: Restore from storage snapshots has the following limitation. For Instant VM Recovery If a VM has several disks that are hosted on different datastores (and snapshots), Veeam Backup & Replication will register a temporary VM only with those disks that are hosted on the storage snapshot from which you started the restore process. Other VM disks will be excluded from the VMX configuration file of the temporary VM.
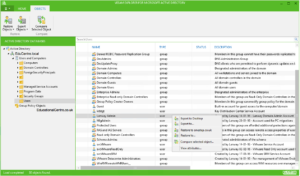
Just to bulk this article out further, I have also grabbed some screenshots using the Restore Application items > Active Directory Objects option.
We get a status dialog box, taking you through the session information, and the the AD object explorer window.
Backing up a Virtual Machine from a Nimble Snapshot
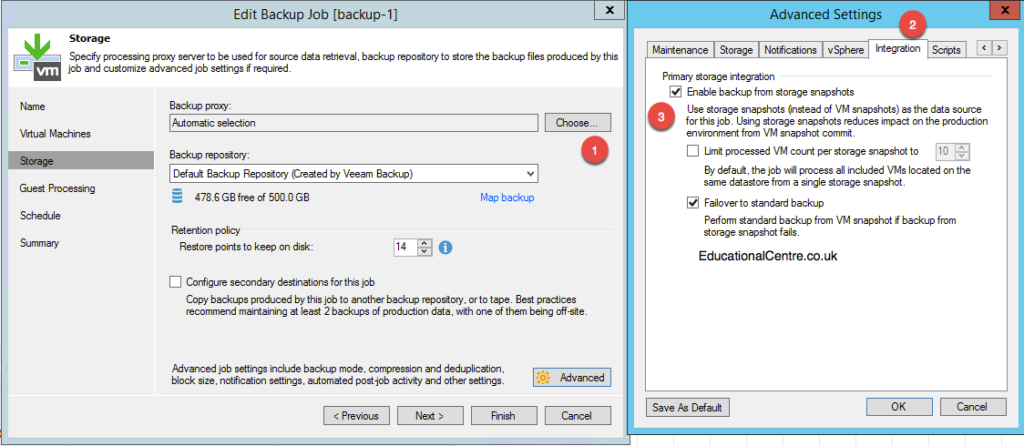
When creating your backup job, ensure that you select the integration settings to utilize storage snapshots.
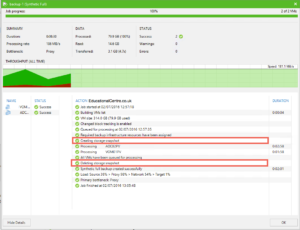
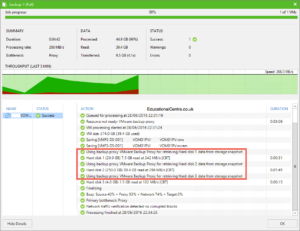
Then proceed as normal. Below shows the output of VM’s backed up from Snapshots. The two in the example VMs sit on different VMFS volumes as well.
With this type of backup (onto a disk), you can expand the backup by triggering a storage snapshot;
- Held on the Primary Storage Array
- Held on a Secondary Storage Array
Backing up a Virtual Machine to a Nimble Snapshot (Snapshot-only Job)
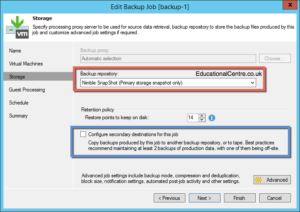
This is nice and simple, in the storage setting of your backup job, just select the Backup Repository as the Nimble Snapshot,
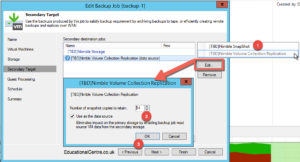
Then you can select to offload this to another device, such as a Nimble Replication Partner. Similar to that which can be configured in the Nimble Storage Management Interface.
We can select to pull the data from the primary backup destination, so we are not pulling the secondary data copy from the live production storage.
Note from the Beta Admin Guide: On Nimble storage systems, snapshot transport is triggered as soon as you create a new storage snapshot. For this reason, launch of snapshot transport and deletion of VMware vSphere snapshots are performed in parallel.
Replicating a Virtual Machine from a Nimble Snapshot
Replicating the VMs in your environment is the same as backing up, apart from you select the destination vCenter environment as the target.
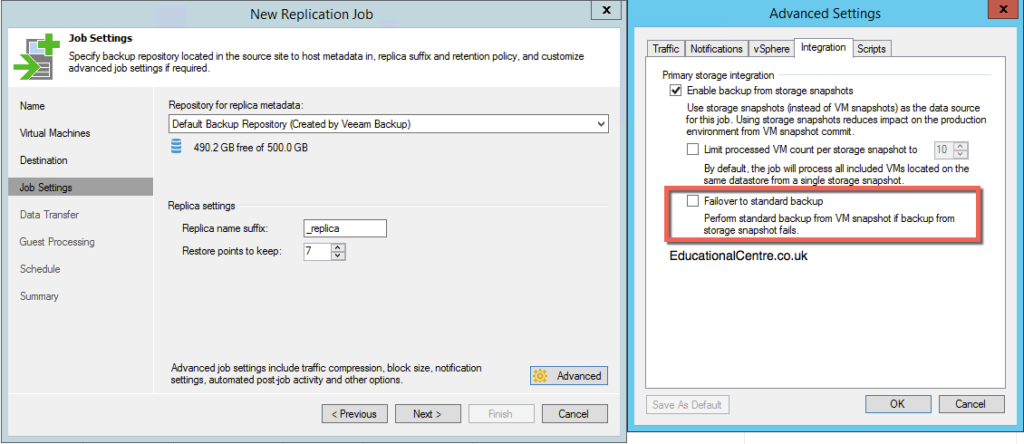
With the Nimble integration, its similar to the above, where we can change the job settings > storage > integration tab, to ensure we are utilizing storage snapshots as the replication method.
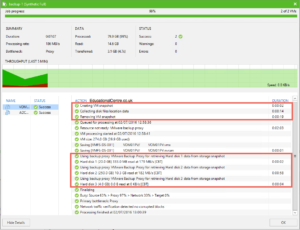
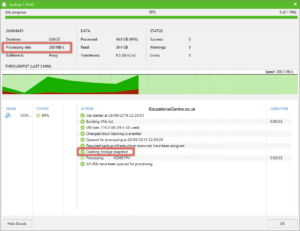
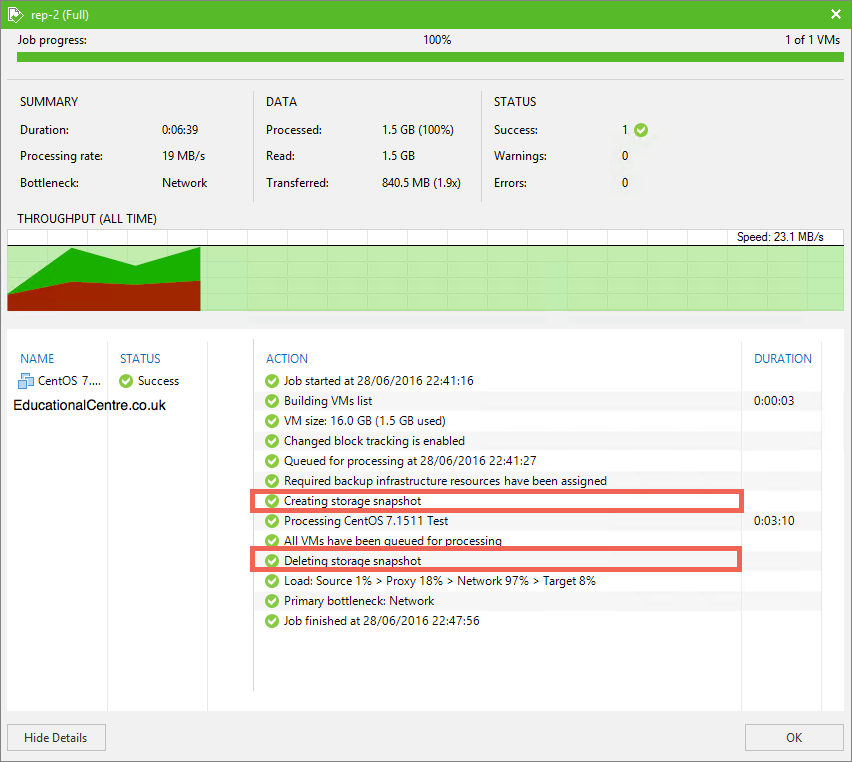
In the below replication job status, we can see the a storage snapshot is created, the target VM is configured for HotAdd on the second site proxy, and the storage snapshot on the primary storage is deleted at the end of the replication
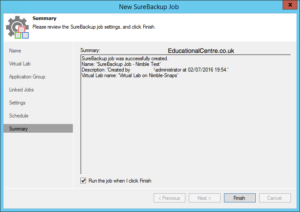
SureBackup from Nimble Snapshots
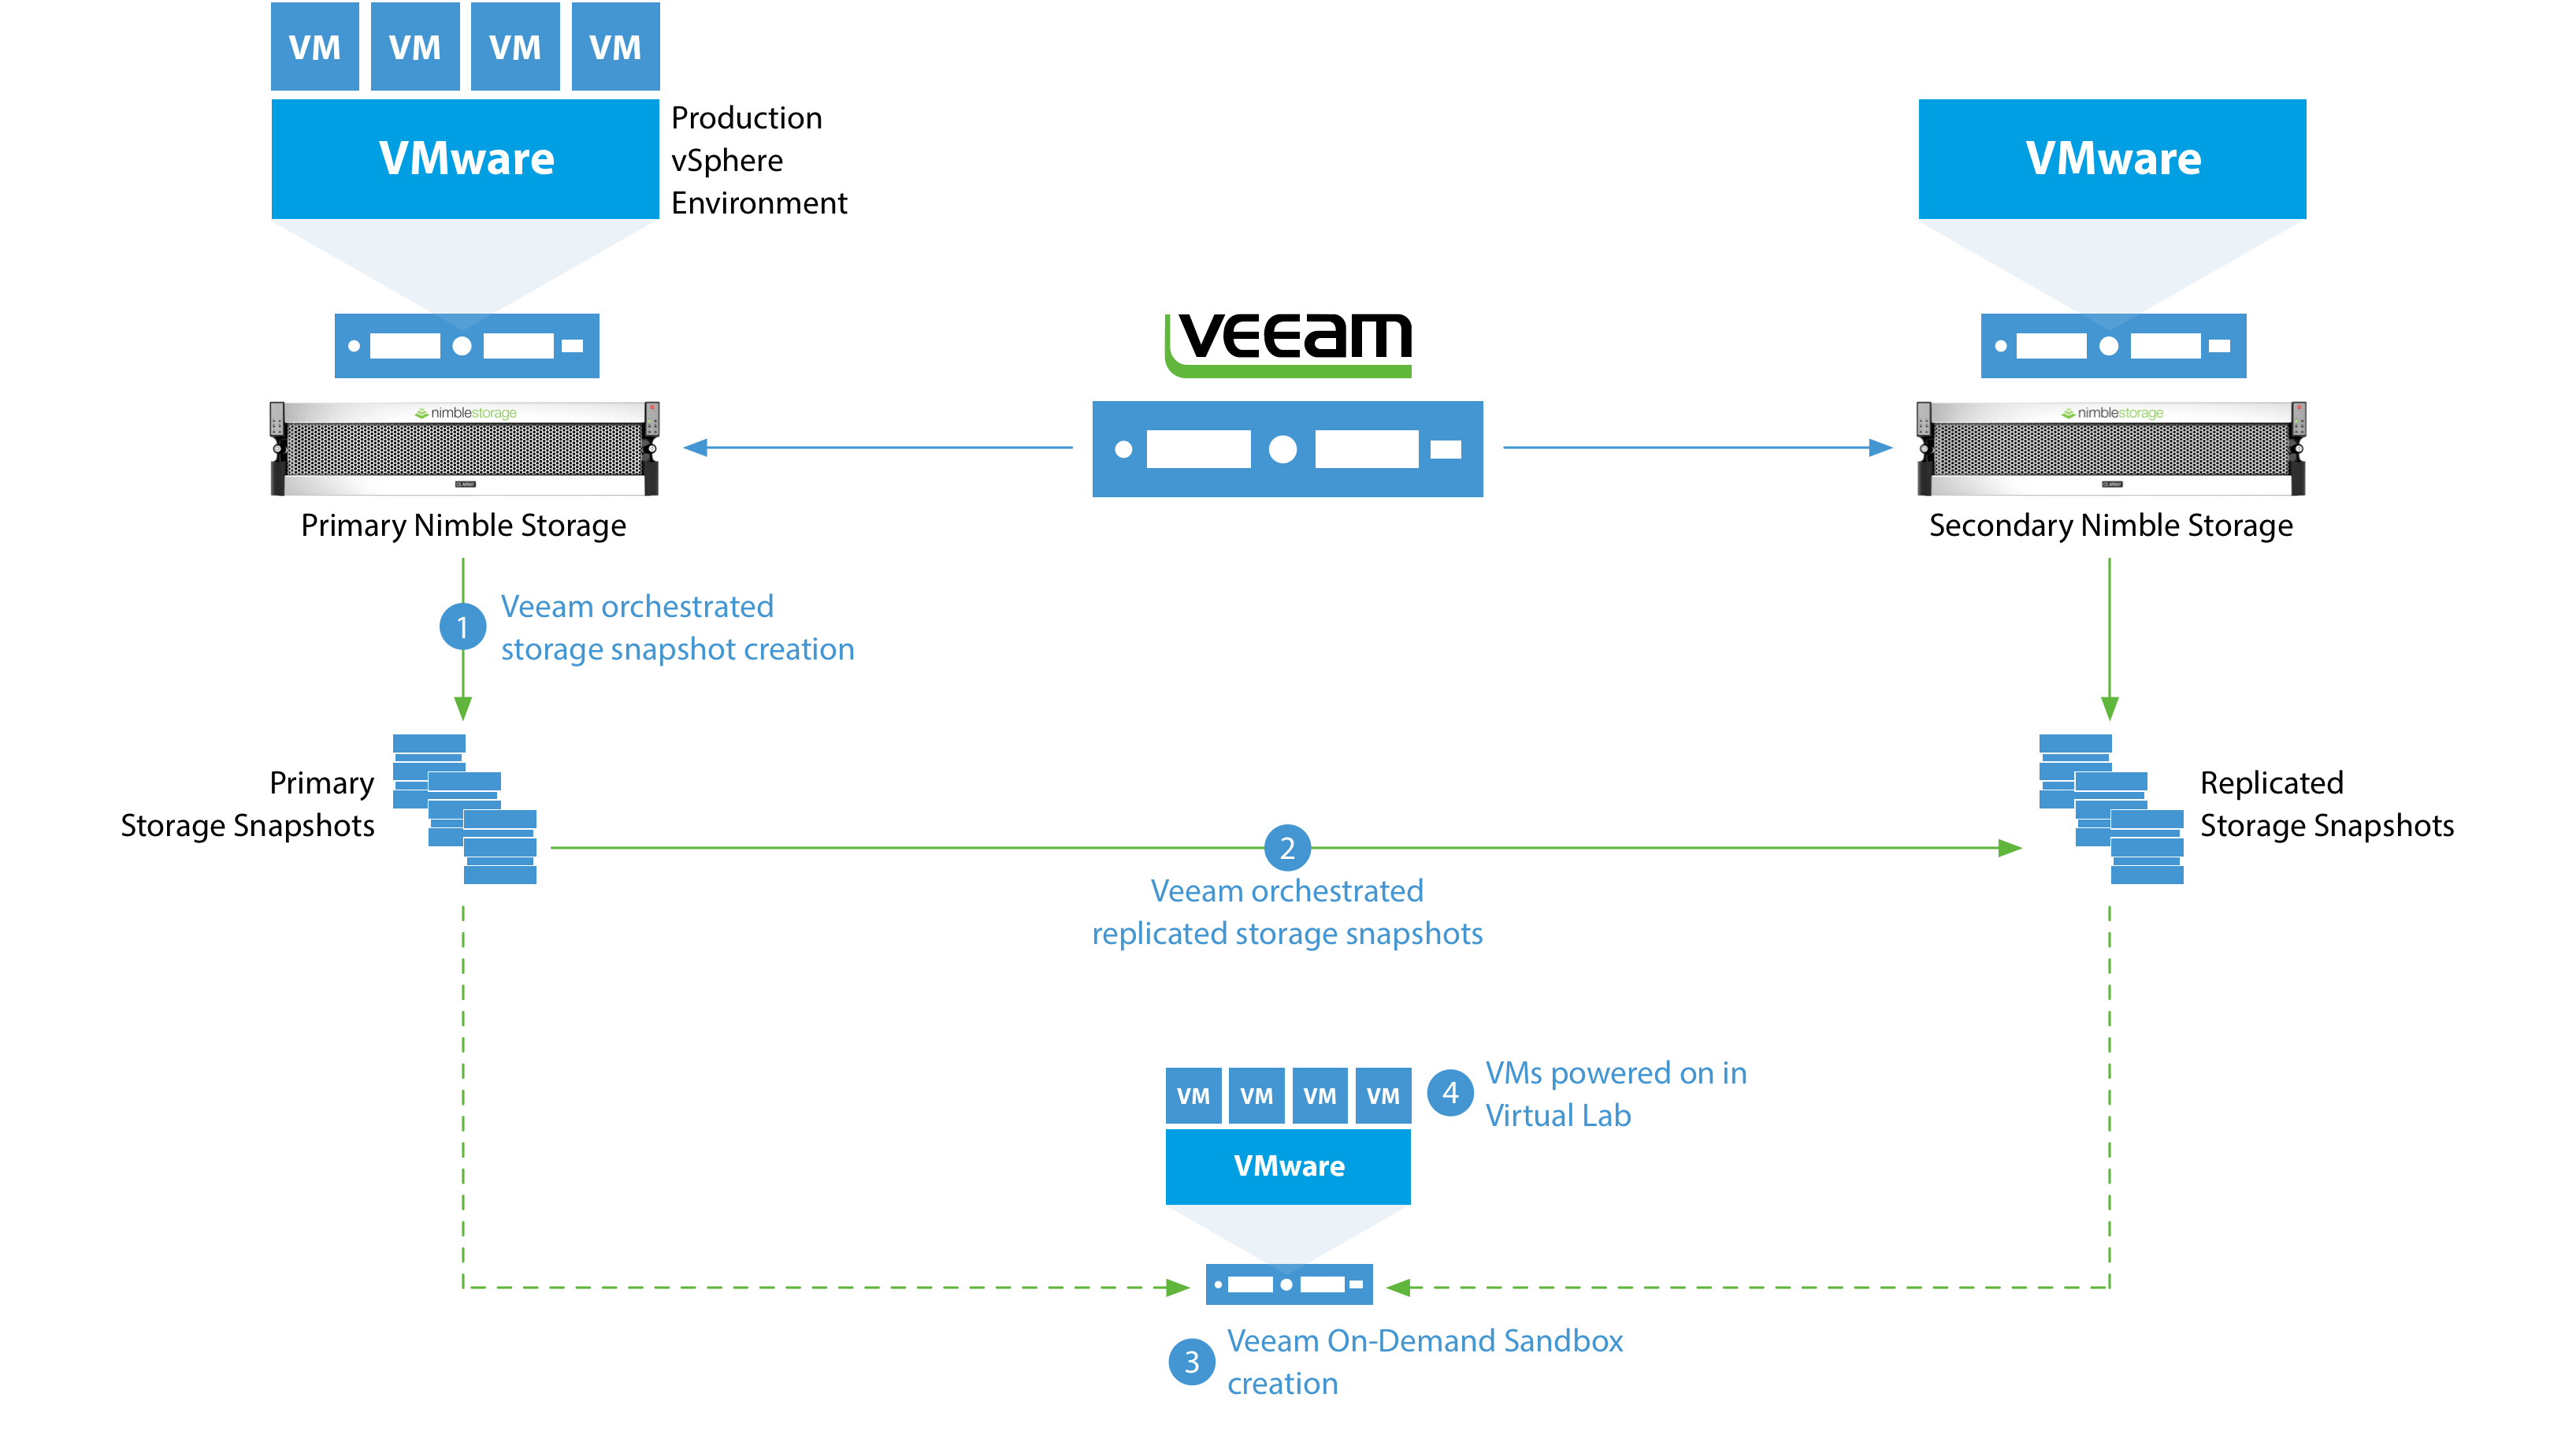
Below is the reference topology from this post.
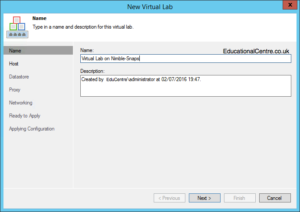
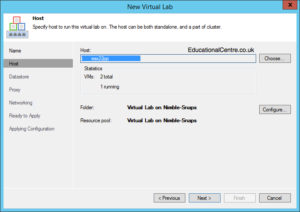
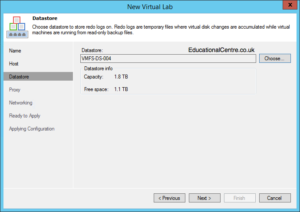
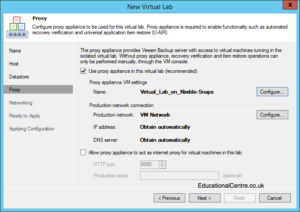
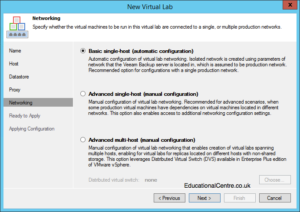
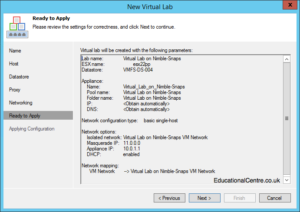
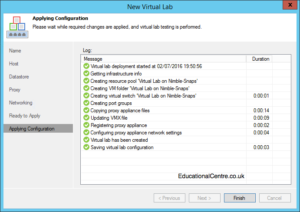
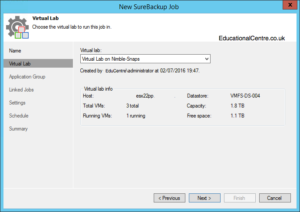
- Create your Virtual Lab
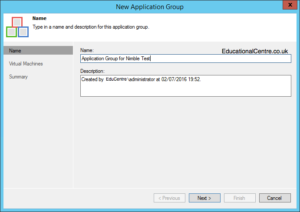
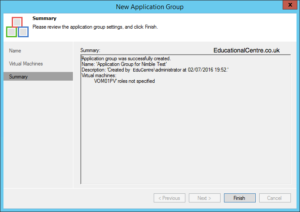
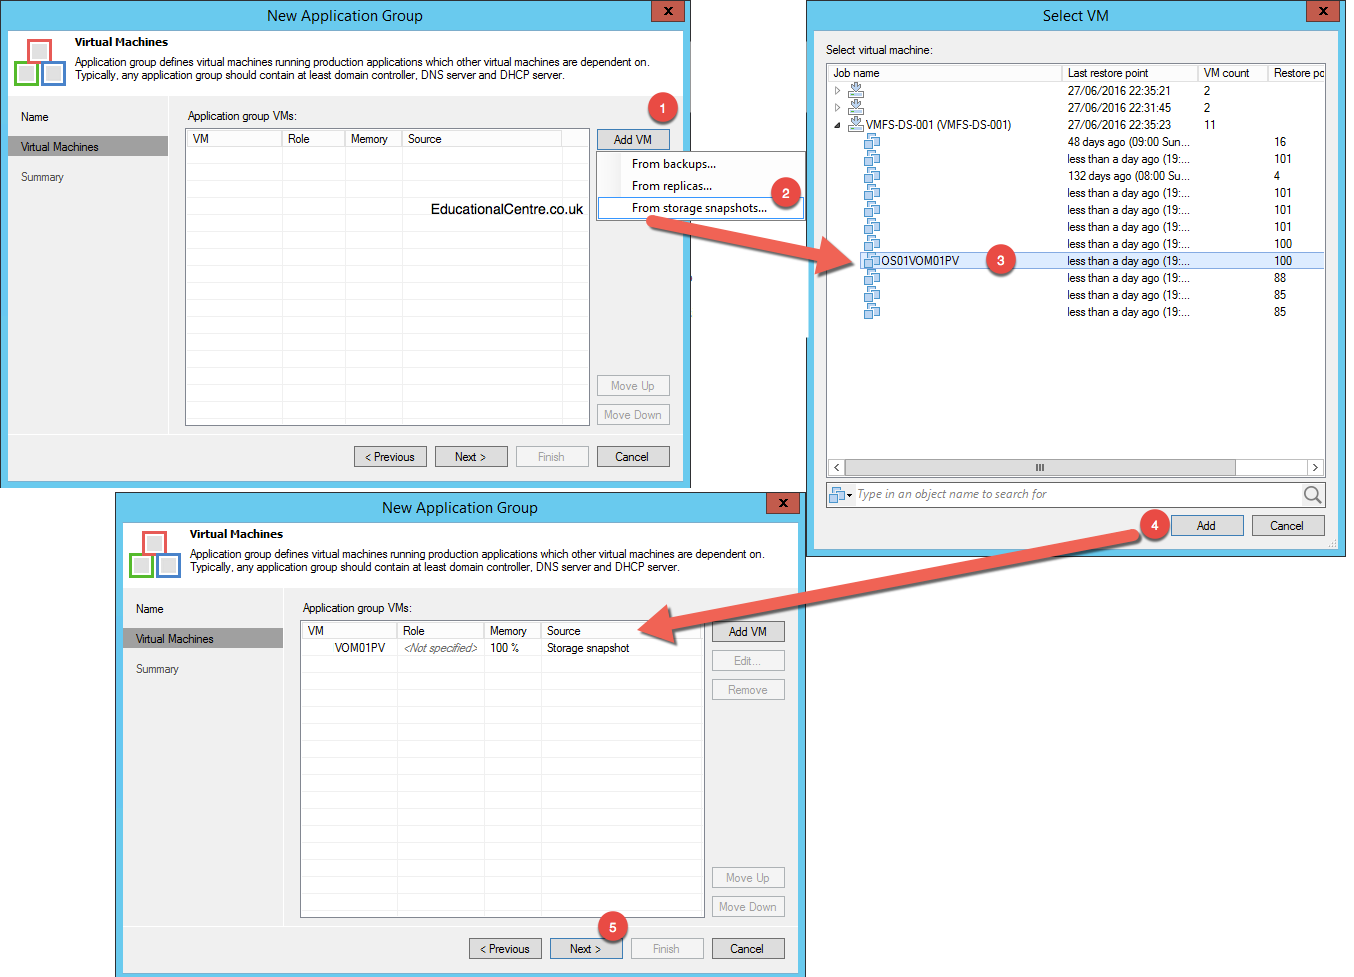
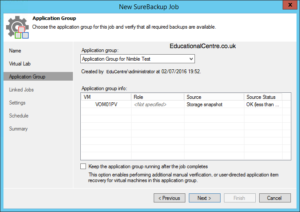
- Create your application group
- Click the Add VM Button > From Storage Snapshots
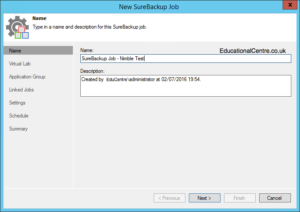
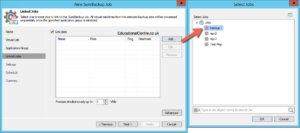
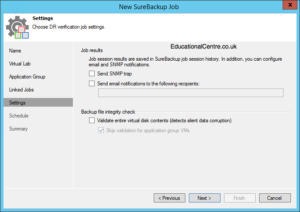
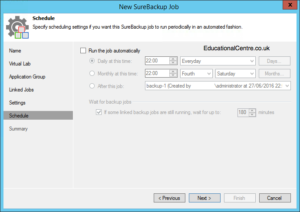
- Configure the SureBackup Job
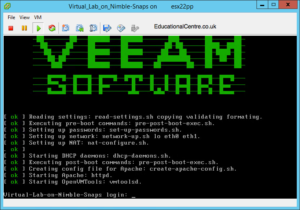
SureBackup is a fantastic feature of Veeam Enterprise Plus license, and really should get its own blog post. So for now, the details and step-by-step guide can be found here as a Veeam KB. Below is each screenshot from the setup, with the running from a Nimble Snapshot highlighted. For this test, there was issues with one of my VMs configuration, however, you can clearly the Nimble Integration working.
To finish off, here is video, covering some parts of the Veeam & Nimble integration that are also covered in this blog.
Regards
Dean
Follow @saintdle
