Here I am going through how to setup LACP port trunking for a Synology NAS device using HP Switching.
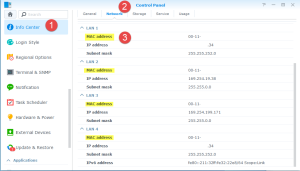
1. First off get your MAC Addresses of your Synology NAS interfaces you want to configure, these can be found in the DSM web login under Control Panel > Info Center > Network
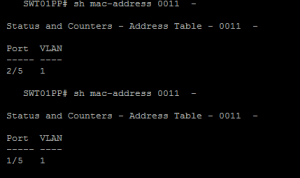
2. To ensure you have the correct switch ports, you can look at the MAC Address Table on the switch;
switch# show mac-address (MAC ADDRESS)
E.g.
switch# show mac-address 001122-334455
3. Setup your LACP configuration on the Synology NAS web interface, go to Control Panel > Network > Network Interface > Create > Create Bond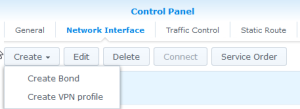
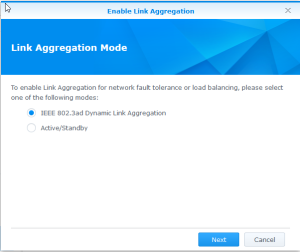
4. Choose IEEE 802.3ad aka LACP
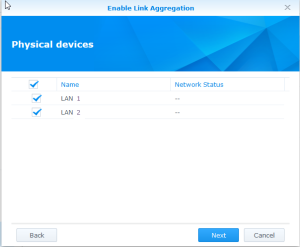
5. Choose your NIC’s that are to be part of the bond
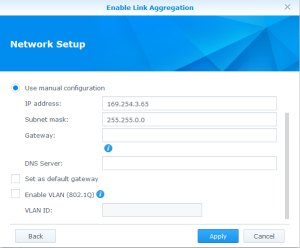
6. Set your IP address configuration, you can choose DHCP (however this is cut off the screenshot).
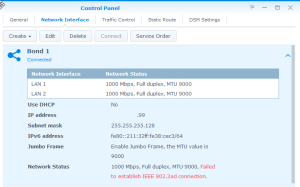
7. Finish and your Bond is created, however you then need to click the down arrow, which shows you the LACP connection has not been established.
8. Next we need to configure the LACP trunk on the HP Switch,
switch(config)# trunk (interface/s) (trunk number) lacp
E.g
switch(config)# trunk 1/5,2/5 trk1 lacp
Note: Jumbo frames is set at the VLAN level
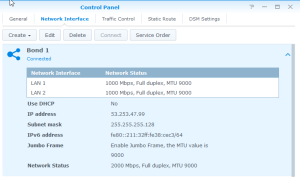
9. You should see the bond on the Synology now shows a network status and no red text
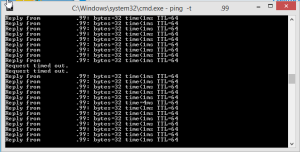
Over all this process only lost me two pings as well moving from normal interface state into LACP.
Dean
Follow @saintdle

