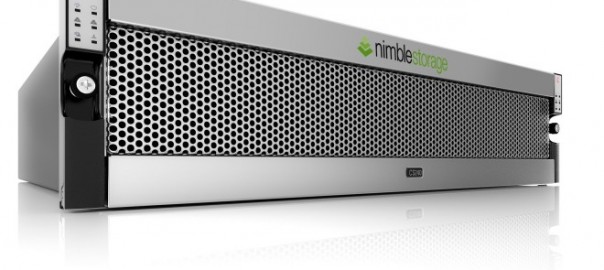
A quick friday post, I am upgrading the environment at my work place, and we are putting the fantastic Nimble Storage device as our SAN for the VMware environment.
I’ve not personally installed one of these before until now, but have worked on them whilst in production and the performance from the device is unbelievable, especially when comparing the price against other competitors!
It took me around 20 mins from power on to configure the device, just enter IP’s, plug device into network ports that are already on the correct VLANs for management and iSCSI and your away.
How to create a Volume
1. The obvious bit, log into the Nimble Management
2. Go to Manage and then Volumes
3. Click on New Volume (Duh);
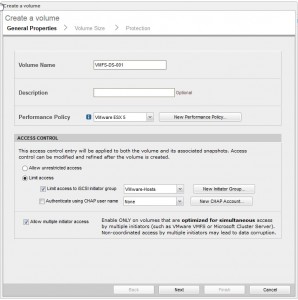
– Enter your Volume Name
– Description if needed
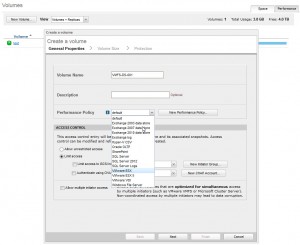
– Choose your Performance Policy, (These are predefined and are accelerated for VMware ESXi, SQL, Exchange etc)
– Choose who can access this volume,
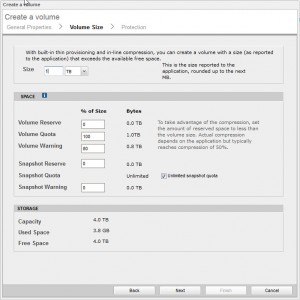
4. Click Next, and then chose your Volume Size
– Choose if you want to Hard Reserve this on the array, the higher the percentage the lower your ability to compress
– Choose your Snapshot settings
5. Click Next and Finish, and you will see your volume in the list.
– Now this volume is ready to provision to the OS of your choice (VMware ESXi, Windows, etc)
Enjoy
(LinkedIn)


