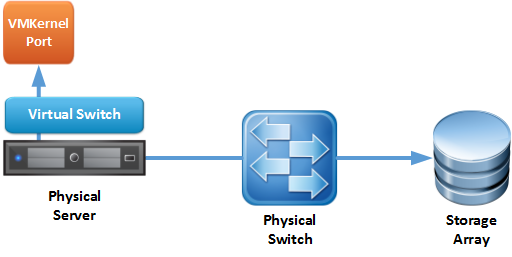
PowerCLI - Setup Host networking and storage ready for ISCSI LUNs
So I am no scripting master, my PowerShell knowledge is still something I want to expand. During an install last week I had a number of hosts to setup from…
Read guide →6 vEducate articles tagged iSCSI.
So I am no scripting master, my PowerShell knowledge is still something I want to expand. During an install last week I had a number of hosts to setup from…
Read guide →So first off we need to setup Jumbo frames in a few places. ESXi host Switch the ESXi host and Storage is plugged into Storage device As per VMware ESXi 5.0…
Read guide →On twitter Rick Vanover posted this link, which intrigued me, giving your Veeam Server access to the VMware VMFS volumes for quicker backups. Sounds dangerous…
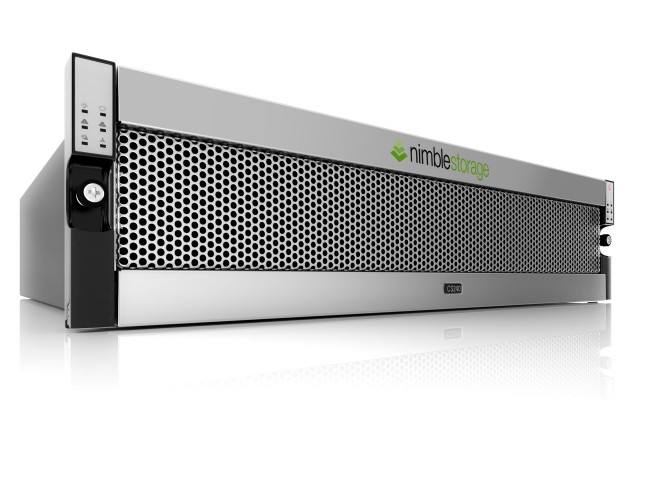
Read guide →So the last time I used a Nimble Device, I had to configure it (quite easily) using the CLI first due to connectivity constraints at the customers site.…
Read guide →The other day, I posted about how to setup a volume on a Nimble Storage device, so this post is a bit backwards, as now we look at setting up a device from…
Read guide →