In this blog post I’m going to cover deploying and configuring Kasten, the container based enterprise backup software now owned by Veeam Software.
This deployment will be inside my Red Hat OpenShift Environment which is running on top of VMware vSphere.
I’ll be protecting a cool gaming application that has data persistence using MongoDB.
Installing Kasten on Red Hat OpenShift
In this guide, I am going to use Helm, you can learn how to install it here.
Create a OpenShift project (Kubernetes namespace) called “kasten-io”
oc new-project kasten-io
Next we are going to use Helm to install the Kasten software into our OpenShift cluster.
helm install k10 kasten/k10 --namespace=kasten-io --set scc.create=true --set route.enabled=true --set route.path="/k10" --set auth.tokenAuth.enabled=true
Breaking down the command arguments;
- –set scc.create=true
- This creates the correct Security Contexts against the users created by the install. This is needed in OpenShift as the security context stance is higher OOTB than that of a vanilla Kubernetes install.
- –set route.enabled=true
- This creates a route in OpenShift using the default ingress, so that the Kasten dashboard is accessible externally. This will use the default cluster ID domain name.
- –set route.path=”/k10″
- This sets the route path for the redirection of the dashboard. Without this, your users will need to go to http://{FQDN}/ and append the path to the end (k10).
- –set auth.tokenAuth.enabled=true
- This sets the authentication type of the Kasten Dashboard.
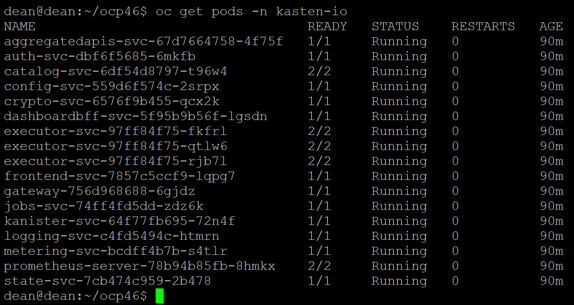
Once the installation has completed. You will see all your pods running;
oc get pods -n kasten-io
We also want to check the route information that’s been configured;
oc get route -n kasten-io
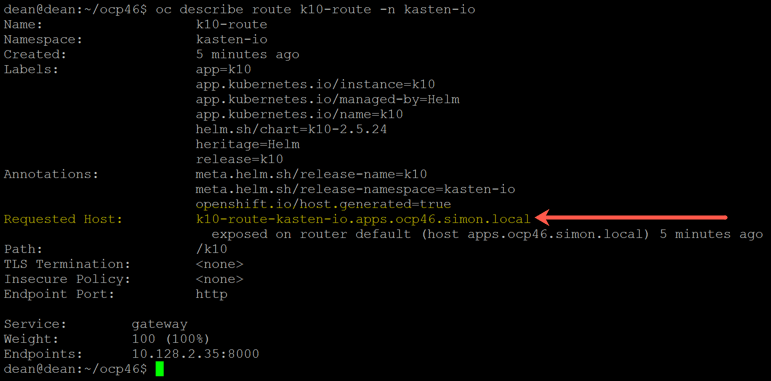
To view the setting of our route;
oc describe route k10-route -n kasten-io
Below you can see highlighted the FQDN of the Kasten instance that our users can access the Kasten Dashboard.
Before we browse to our FQDN we also need to get the token from our user to access the environment. For this example I am going to use the default user “k10-k10”, which has full administrator privileges to Kasten. You have the ability to create a new user with the correct level of access also, see here.
sa_secret=$(kubectl get serviceaccount k10-k10 -o jsonpath="{.secrets[0].name}" --namespace kasten-io)

kubectl get secret $sa_secret --namespace kasten-io -ojsonpath="{.data.token}{'\n'}" | base64 --decode
The first command passes our secret into a variable, which is reference in the second command.
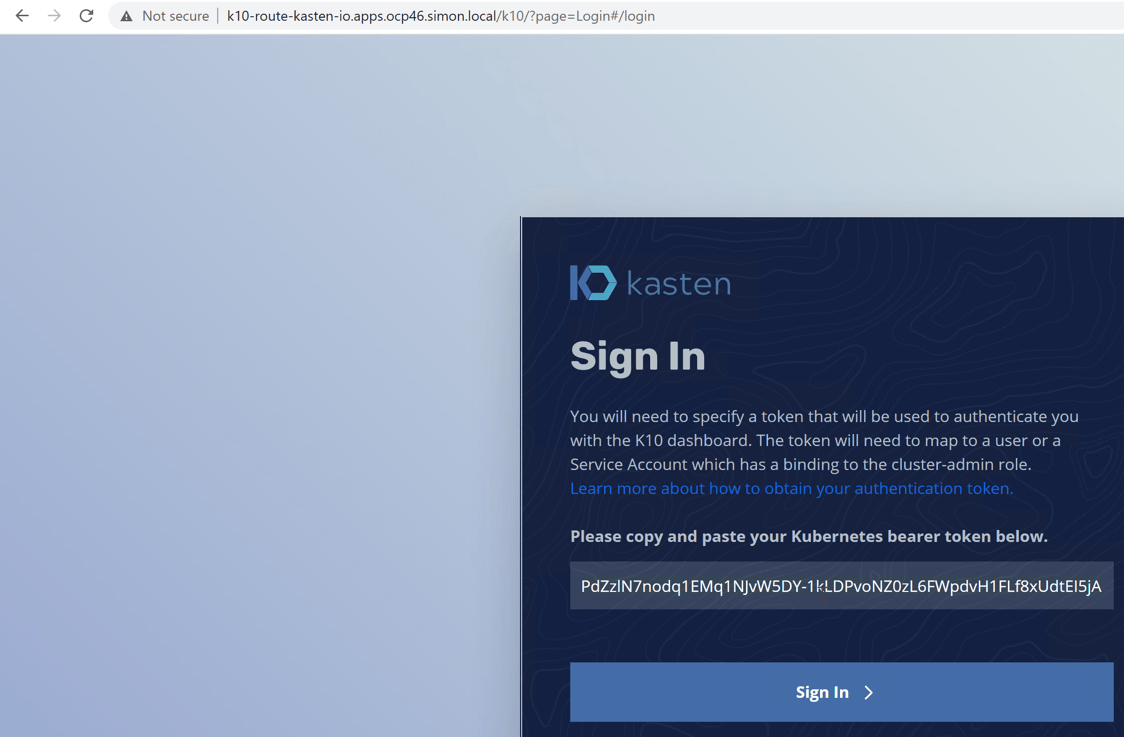
Extract your token as per the below screenshot.
And input into the login for the dashboard.
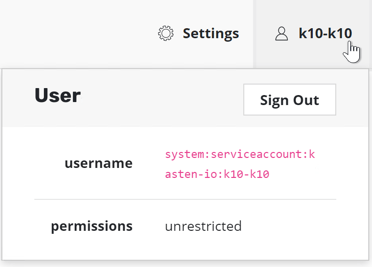
Once authenticated you can see by clicking the user name in the top right hand corner, we have the highest of permissions.
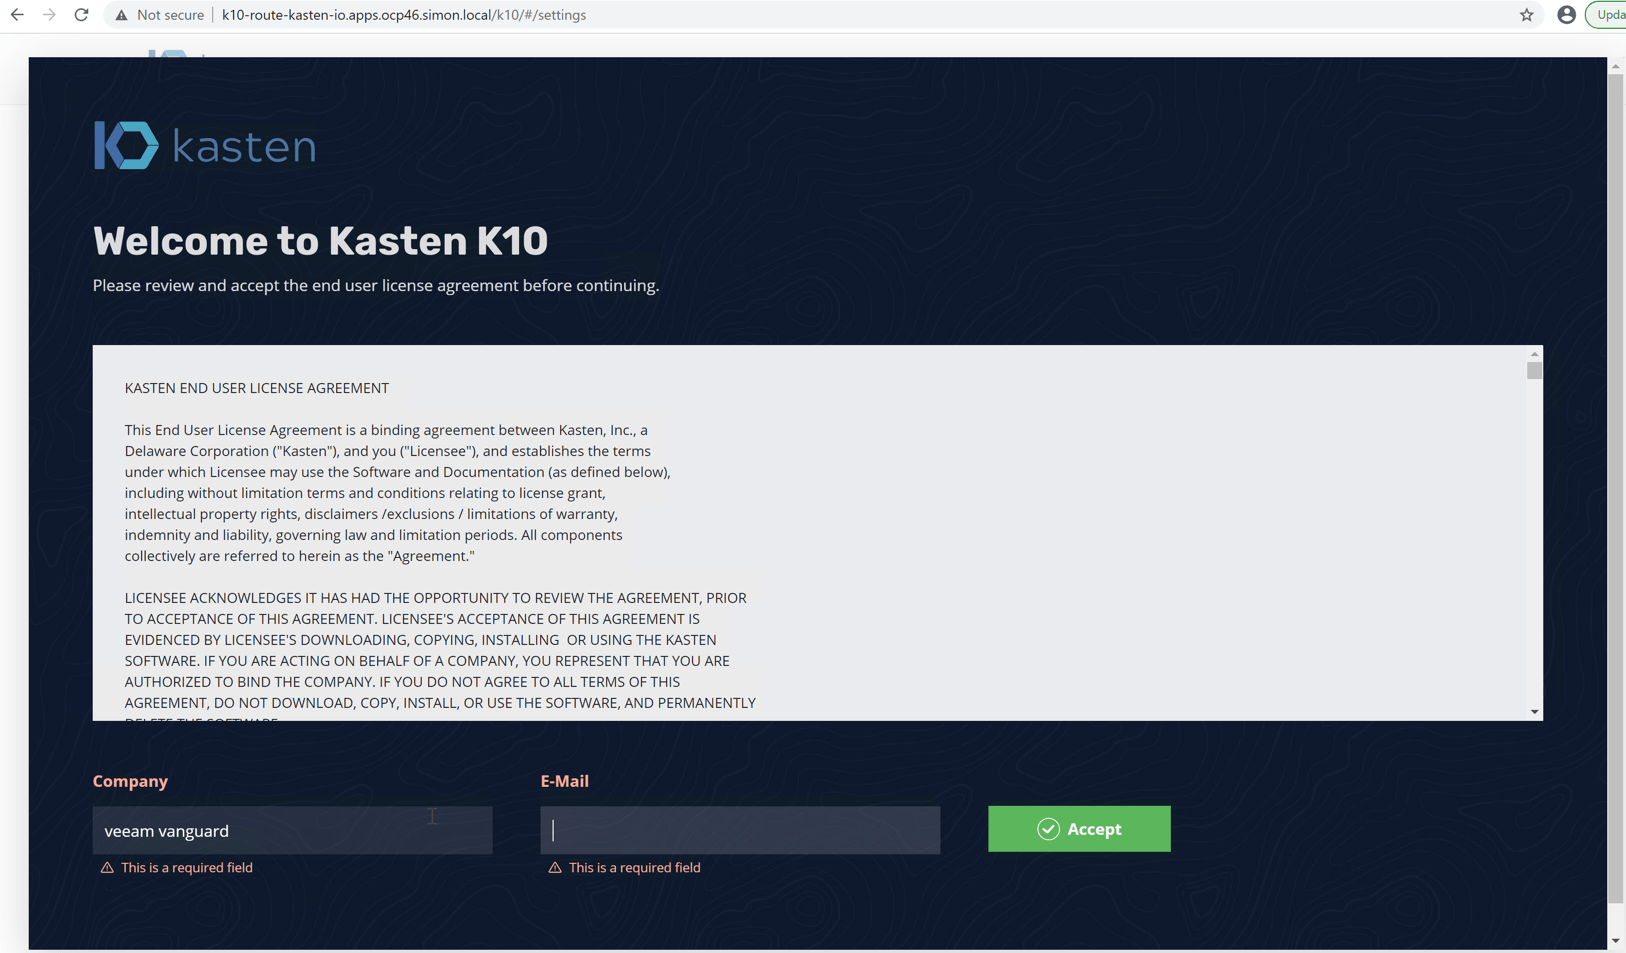
You will also see a pop up asking you to accept the EULA.
Configuring Kasten to integrate with VMware vSphere
The VMware CSI Driver does not support snapshotting first class disks (FCD) currently. However Kasten can snapshot the FCD by using its integration into vSphere by calling the vCenter API. To enable this capability we need to configure an infrastructure profile.
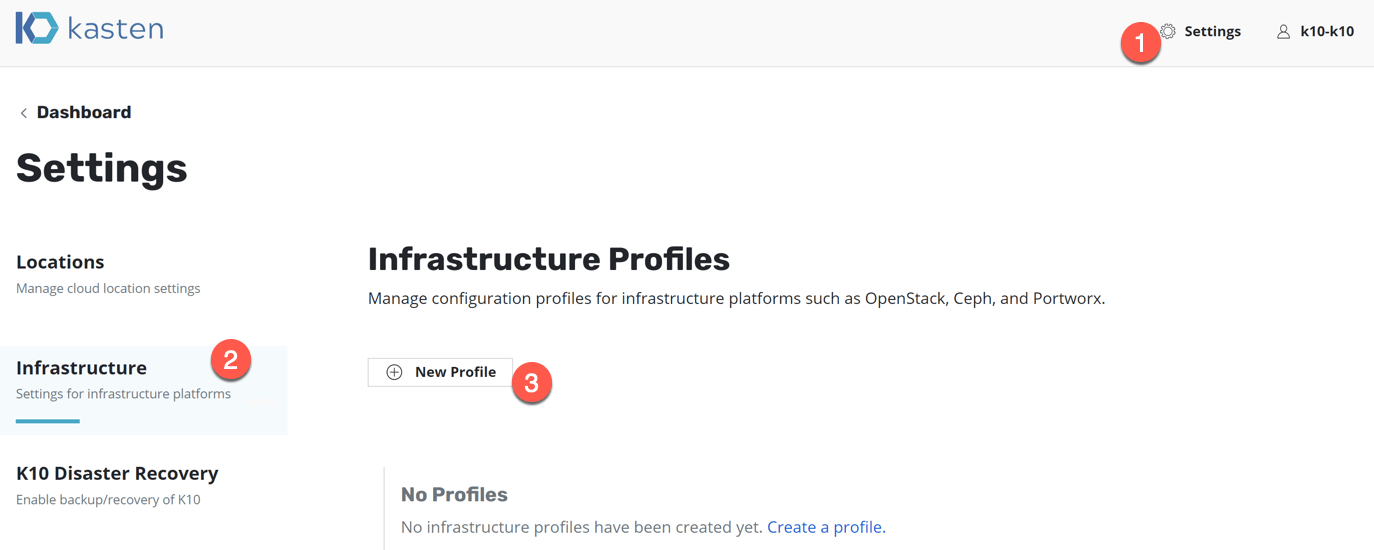
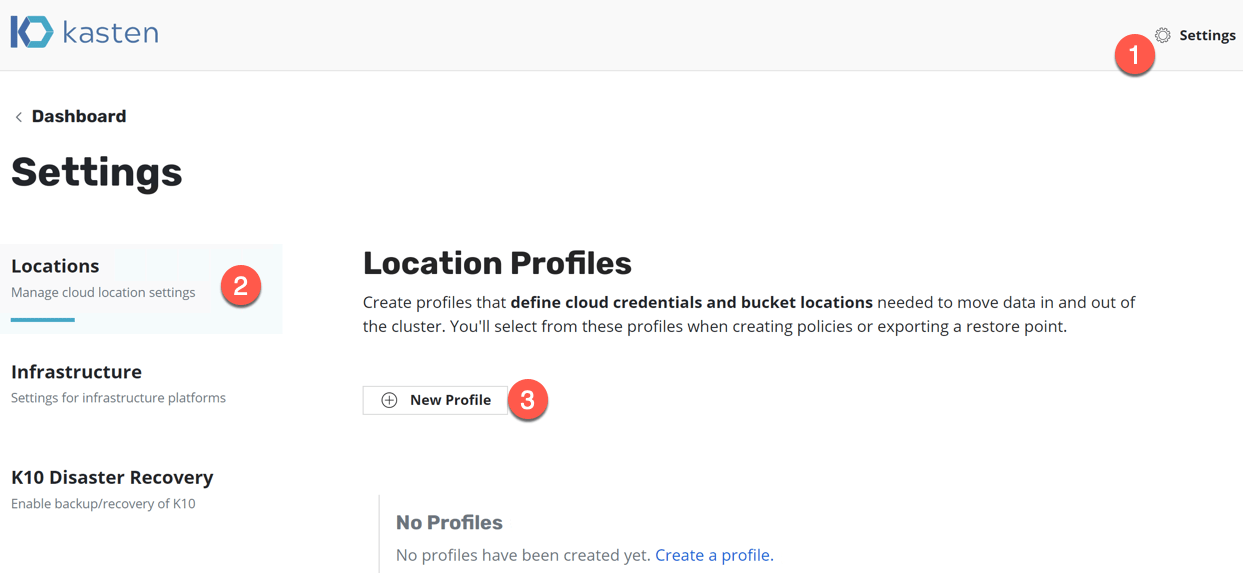
- Click the “Settings” button in the top right hand corner of the dashboard.
- Select Infrastructure tab on the left hand side of the dashboard
- Click New Profile.
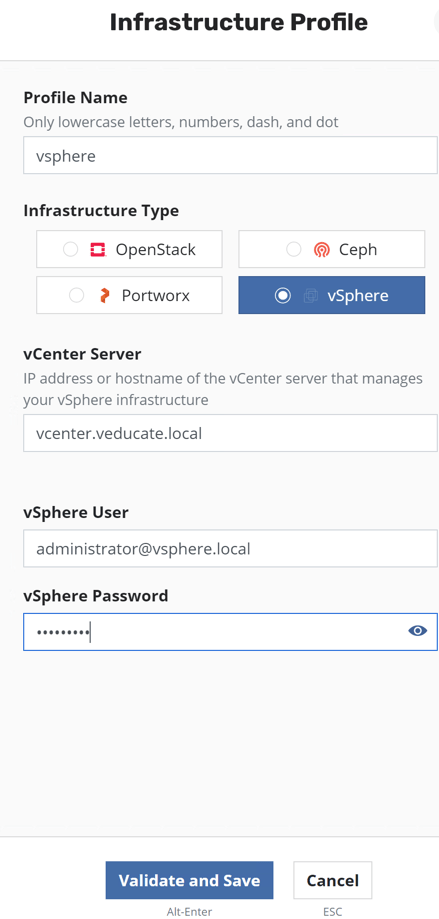
This will open up a configuration pane on the right-hand side of the dashboard.
Provide a profile name and enter the details as necessary. Click validate and save once done.
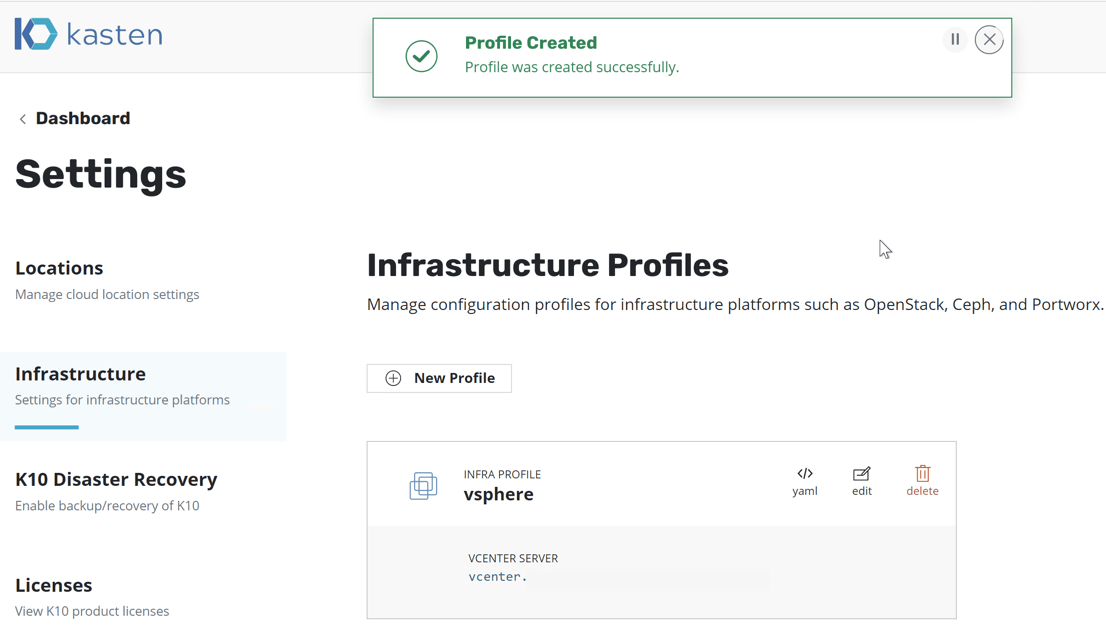
You will return to the settings screen and see a dialog box pop up stating the profile creation was successful.
Create a location profile to enable backup storage
The next component we need is to create a location profile. Without this, we can create a snapshot of our data which is useful for our cluster, but it is not a full backup or provides DR. Similar to that compared to snapshots of a Virtual Machine.
A location profile provides Kasten and the protection policies we will create access to external object storage or external NFS file storage (tech preview).
- Under the Settings dashboard (click in the top right hand corner if needed).
- Select the Locations Tab.
- Click new profile.
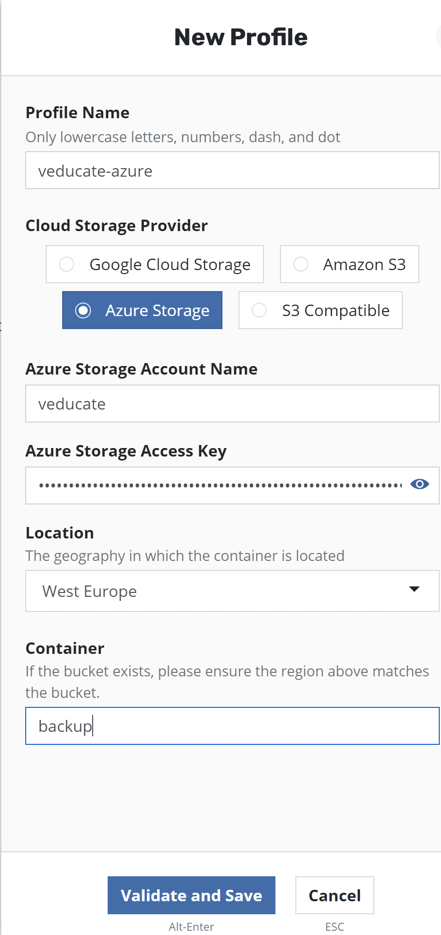
A dialog box will appear on the right hand side of the dashboard interface.
Select your Cloud Storage Provider of choice and enter the necessary details. Click validate and save.
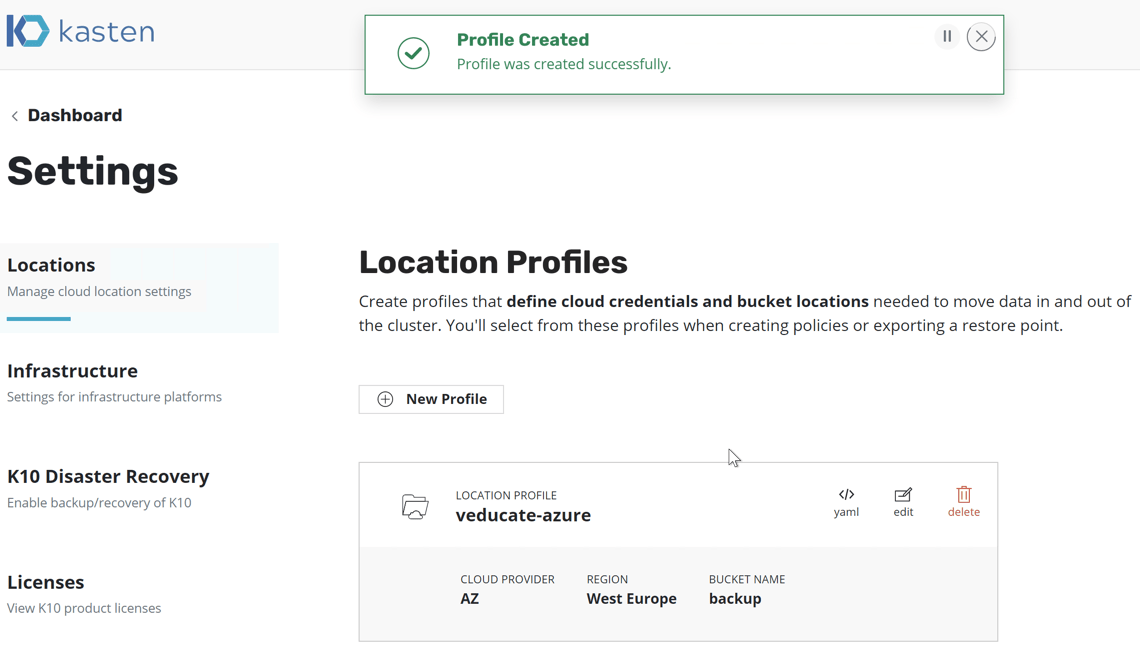
You will then see a Profile Created message if this is successful.
Creating Backup Policies, protecting and restoring your data
Now we have deployed our Kasten environment to our Red Hat OpenShift environment running on VMware vSphere, set up the base configuration, we move onto the next phase:
Regards
