Tag Archives: Update

Docker Header

Using Docker to update and commit to a container image

I was helping a customer build some customized automation tasks using vRealize Automation Codestream. These tasks required the use of a container image with certain tools installed, usually we can include a CI task to download the tools into the container image on the fly. However, my customer’s environment is offline, so I needed to provide them a container image with everything installed by default.

Before we dive into the process of running a container and committing the changes, it is recommended where possible to create a new docker file that would build your docker image as needed with the associated commands such as the below:

FROM node:12-alpine
RUN apk add --no-cache python g++ make
WORKDIR /app
COPY . .
RUN yarn install --production
CMD ["node", "src/index.js"]

Committing changes to a container image in this way can cause the image to become bloated. But sometimes there’s a need to do just do it this way.

Prerequisites
Pull the image you want to update
docker pull {image location/name}

docker pull image

Check your images and get the ID
docker images

For the next command, we will need the Image ID.docker images

Run your image as an active container
docker run -it {Image_ID} /bin/bash

This will then drop you into the tty of the running container.

docker run -it image_id bash

Modify your container

Continue reading Using Docker to update and commit to a container image

kasten by veeam header

How to update Kasten to the latest version

This is probably one of the simplest blog posts I’ll publish.

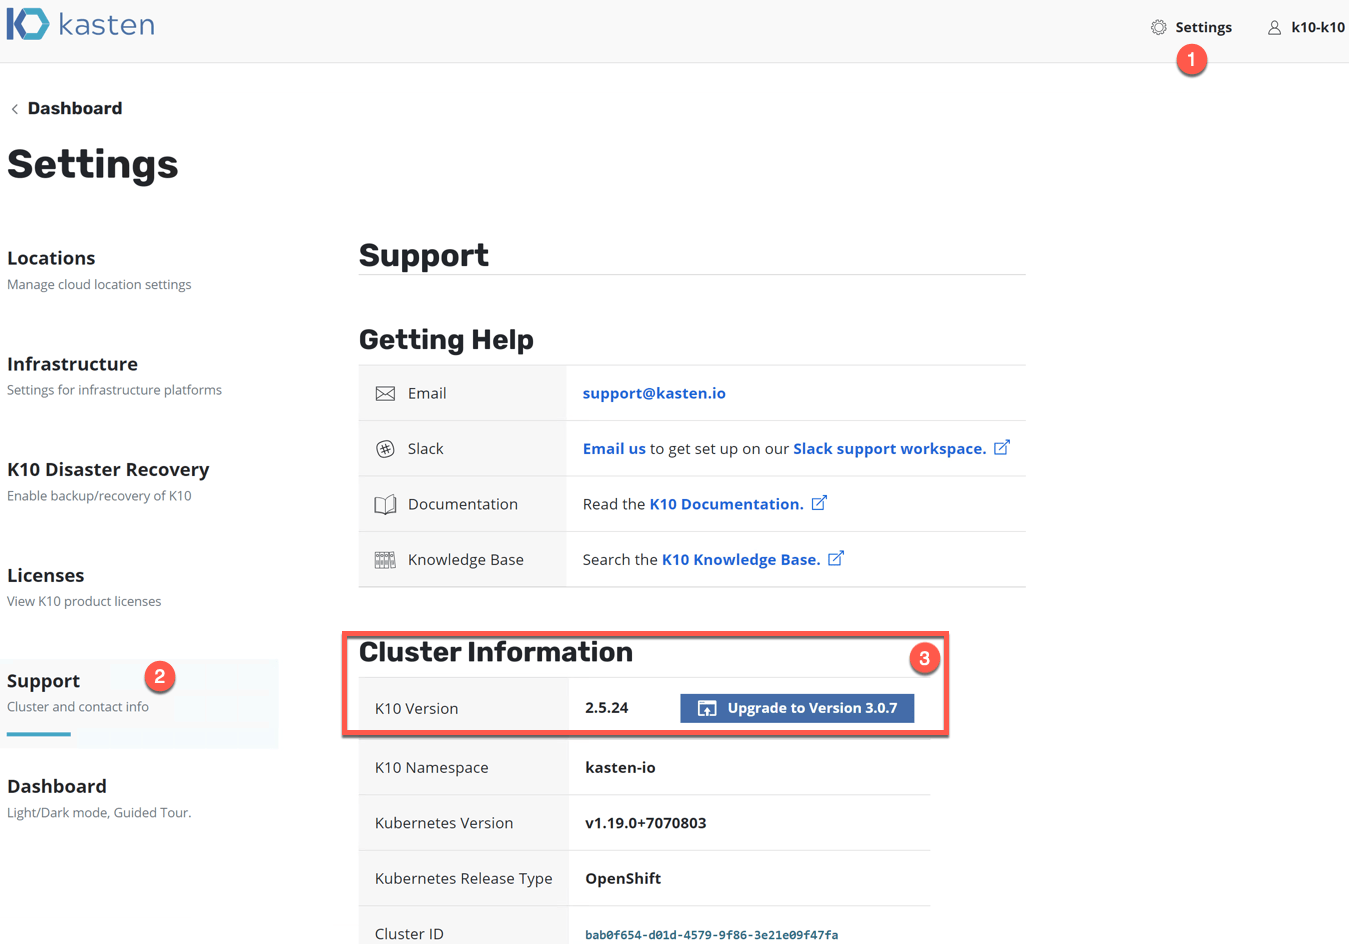
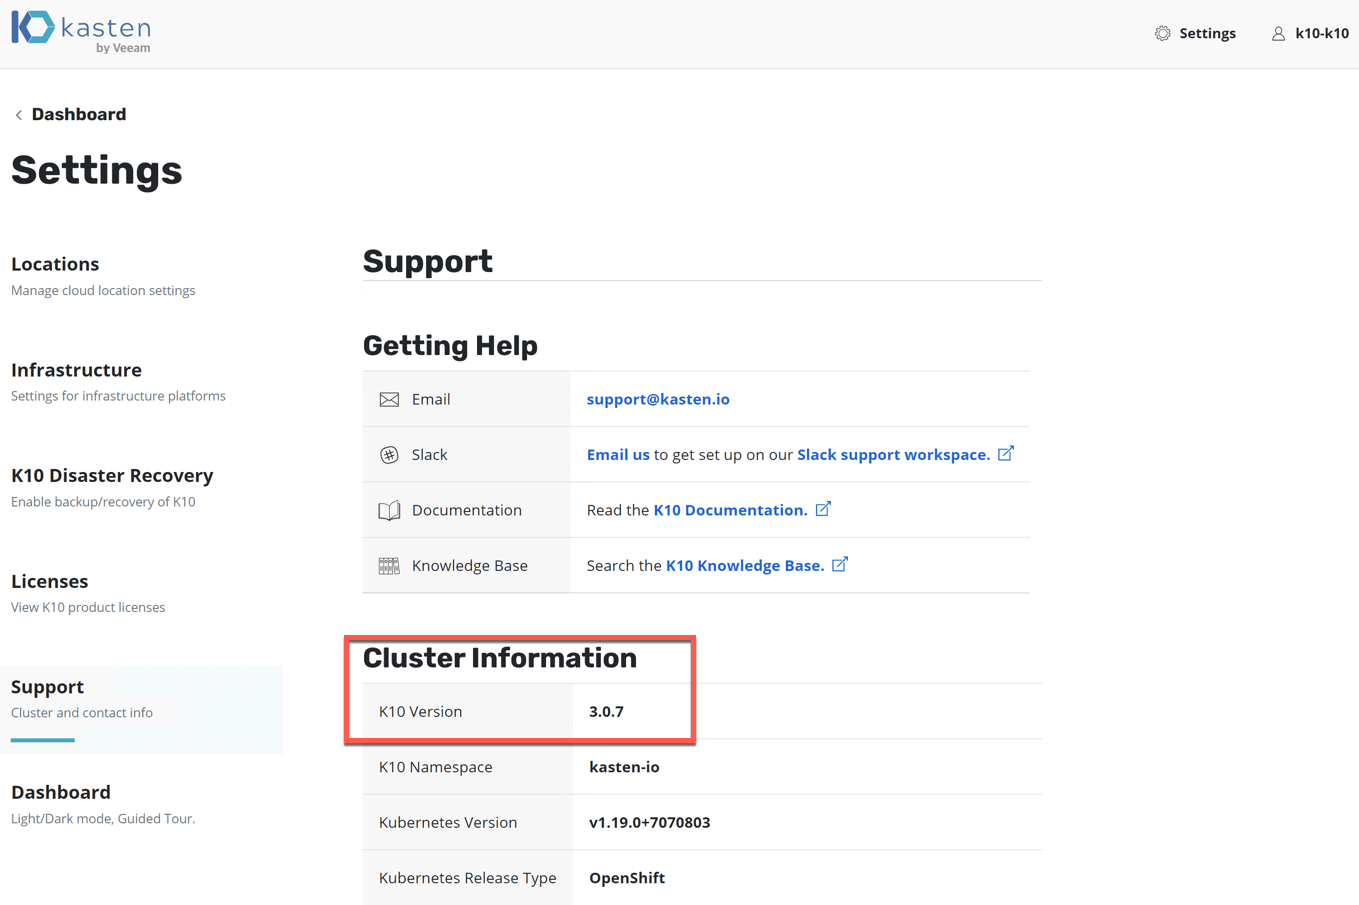
To see if there is an available update for your Kasten install.

  • In the dashboard click > Settings
  • Click on Support

See if there is a notification under the Cluster Information heading.

kasten dashboard support cluster information

Clicking the “upgrade to version x.x.x” button will take you to this Kasten Docs page.

Or you can follow the same instructions with real life screenshots below.

To upgrade run the following using helm:

helm repo update && \
    helm get values k10 --output yaml --namespace=kasten-io > k10_val.yaml && \
    helm upgrade k10 kasten/k10 --namespace=kasten-io -f k10_val.yaml

helm upgrade k10 kasten k10

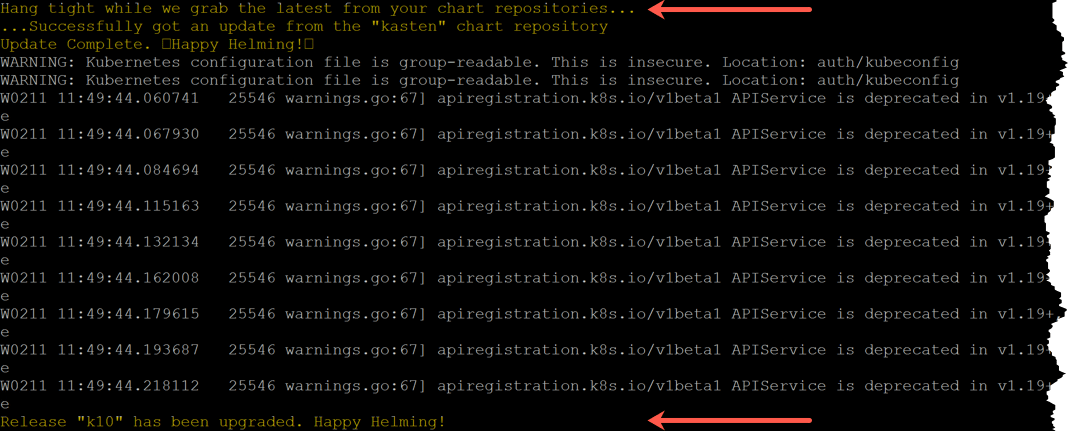
You will see messages similar to the below.

helm upgrade k10 kasten k10 - upgrade in progress - upgrade complete

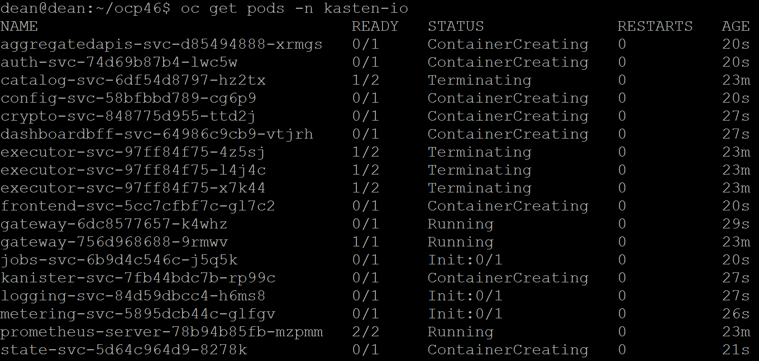
If I now look at my pods in my namespace “Kasten-IO” I can see they are being recreated as the deployment artifacts will have been updated with the new configuration including container images.

helm upgrade k10 kasten - oc get pods -n kasten-io

And finally looking back at my Kasten Dashboard for the cluster information, I can see I am now at the latest version.

helm upgrade k10 kasten dashboard upgrade complete

Regards


VMware.cloud .logo

vCenter patching failed to update the VAMI build “Got exception while trying to save metadata to a file: Unexpected content in /etc/issue file”

The issue

After patching/upgrading your vCenter 6.7 appliance, the vCenter UI shows the latest build number, but in VAMI you see the older VAMI build number.

To troubleshoot upgrade issues, you can look at the following file;

  • /var/log/vmware/software-packages.log

In the log, you see the following error;

INFO:vmware.vherd.base.software_update:Setting appliance version to 6.7.0.31000 build 13643870

ERROR:vmware.vherd.base.software_update:Got exception while trying to save metadata to a file: Unexpected content in /etc/issue file. Data: {Unique_Data}

The cause

This issue is thrown when a custom login banner is set by configuring the advanced setting “config.etc.issue” and the default values which include the version number and deployment type have been removed.

Default lines example;

VMware vCenter Server Appliance 6.7.0.31000
Type: vCenter Server with an external Platform Services Controller
  • William Lam documents how to configure custom banners in this blog post.

The Fix

To workaround this issue follow the steps below:

  • Modify the /etc/issue file to the original before patching.

The file ‘/etc/issue’ contents can be customized but the defaults lines which has the version number and deployment type must be kept for patching to succeed.

  • Check the VAMI page for product version and type and update the /etc/issue file accordingly.
Example: /etc/issue  :: (Original Content from a LAB).
Note line 1 and 3 should be blank. Line 2 will have the version and line 4 will have the deployment type, as shown in the below example:

root@vcsa1 [ ~ ]# less -N /etc/issue
      1
      2 VMware vCenter Server Appliance 6.7.0.31000
      3
      4 Type: vCenter Server with an external Platform Services Controller
      5
/etc/issue (END)

This issue will be fixed in a future release.

Note: Since I originally drafted this blog post, VMware have now produced an external KB.
https://kb.vmware.com/s/article/76024

Regards

2015 07 27 18 17 53

HP Virtual Connect – Upgrade from version 3.30 to 4.41

Hi,

Only a quick post, but after my last bashing of HP virtual connect. I’ve had to endevour another upgrade for a different customer. This time with two HP chassis that are connected together.

For this customer they are on version 3.30 and need to upgrade to the latest version 4.41.

After speaking with HP support, the suggested upgrade path is;

3.60 / 3.70 / 4.10 / 4.20 / 4.31 / 4.41

For me the each firmware took around 35 to 45 minutes to complete. And you need “Virtual Connect Support Utility 1.11.0” to upgrade to 4.31 and above.

Note: that if you use the vcsu.exe tool and have mutliple flex-10 modules connected together in a domain, the firmware will update all the modules at once, you cannot upgrade just 2 modules of 4, for example.

How to update the Virtual Connect Manager

Note: Please plan downtime for this, as in my case it took everything offline whilst updating both modules.

So to update the Virtual Connect Manager, leave the web interface, as you don’t do it there, you need to download the “Virtual Connect Support Utility”, you can find the latest version here.

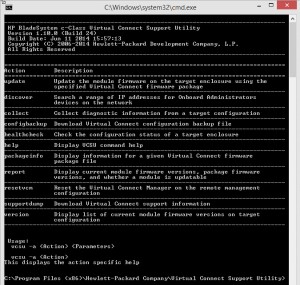
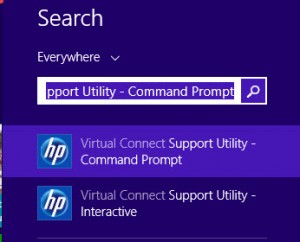
To do this, you open up the command interface,
2014-08-13_09-37-45

2014-08-13_09-39-43

As you can see this launches a command prompt in the install area of the utility.

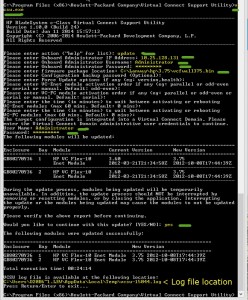
1. Type vcsu.exe and enter

2. Type update and enter

3. Enter the IP address of the Onboard Administrator, username and password.

4. Drag your firmware file from its location into the CMD prompt window and this will automatically out the file location in for you.

4. Click through the options until it says “Initializing, please wait… [Step 1 of 2]”

5. When prompted it will tell you its discovered the Virtual Connect domain, enter the username and password for the Virtual Connect Manager

6. Enter yes after confirming the version you are on and version you are going to.

7. Once done it will tell you its completed and where the log files are loaded.

Here is a full screenshot of the process, with the steps highlighted in yellow with green marks for easy identification.
2014-08-13_09-41-59

Things to know about the Virtual Connect Support Utility

it saves everything in your temp location, so where it tells you it’s saved the log, copy the location and open it up
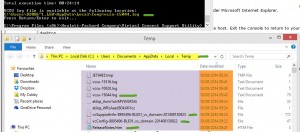
2014-08-13_09-55-181

So it doesn’t just output a file which is the copy of your update session, which in this case is called “vcsu-15044.log”

It saves a copy of your Virtual Connect Manager settings before the upgrade, of which mine was called “vcConfig-8895406-BLE01_vc_domain-201408130822

And finally there is the Support Info output which can be used by HP support to determine the status of your hardware before and after the firmware update “vcSupportInfo-8895406-BLE01_vc_domain-201408130823

If you run the “collect” command, then it produces an output to the temp location for the following files

– Session output

– ShowAll of OA

– ShowAll of Virtual Connect Manager

2014-08-13_10-08-11
Regards

Dean

2015 04 20 22 05 11

Deploy a Cisco UCS system – Part 4 – Upgrading the Firmware

My previous posts in the series covered getting the Cisco UCS up and running and into production, and it seems that adding how to upgrade the Firmware on the UCS at the end of the series is best, as you will find yourself needing to do this once the system is in production as well.

Note: Many thanks to Rene again for this simple post helping me through the steps.

Note2: It’s also worth looking through this short article on the do’s and don’t of UCS Firmware updates, from a session held at Cisco Live 2014.

Covered in this post;

  • Pre-reqs
  • Getting the Firmware
  • Upload firmware into UCS Manager
  • Upgrading UCS Manager
  • Upgrading the Fabric Interconnects
  • Upgrading the Blade Servers
Pre-Reqs

Continue reading Deploy a Cisco UCS system – Part 4 – Upgrading the Firmware