In my previous blog post, I detailed a full end to end guide in deploying and configurating the managed Tanzu Kubernetes Service offering as part of VMware Cloud on AWS (VMC), finishing with some example application deployments and configurations.
In this blog post, I am moving on to show you how to integrate this environment with Tanzu Mission Control, which will provide fleet management for your Kubernetes instances. I’ve wrote several blog posts on TMC previous which you can find below:
Tanzu Mission Control
- Getting Started Tanzu Mission Control
- Cluster Inspections
- Workspaces and Policies
- Data Protection
- Deploying TKG clusters to AWS
- Upgrading a provisioned cluster
- Delete a provisioned cluster
- TKG Management support and provisioning new clusters
- TMC REST API - Postman Collection
- Using custom policies to ensure Kasten protects a deployed application
Management with Tanzu Mission Control
The first step is to connect the Supervisor cluster running in VMC to our Tanzu Mission Control environment.
Connecting the Supervisor Cluster to TMC
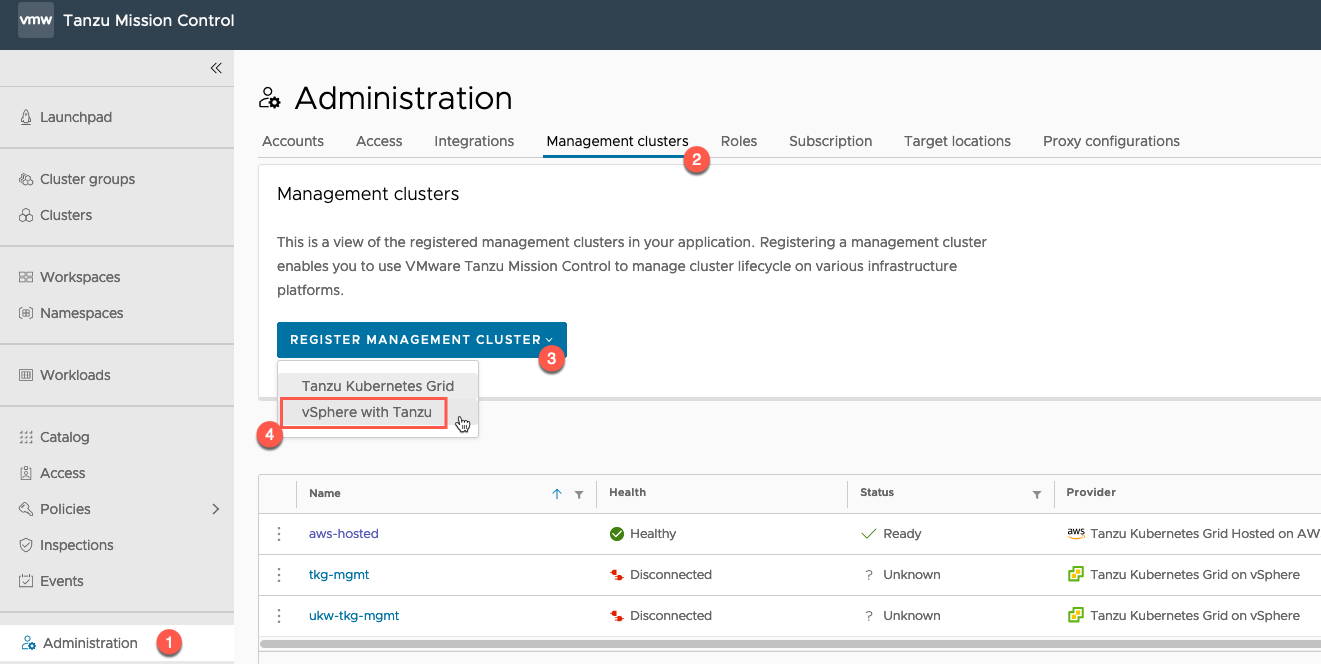
Within the TMC console, go to:
- Administration
- Management Clusters
- Register Management Cluster
- Select “vSphere with Tanzu”
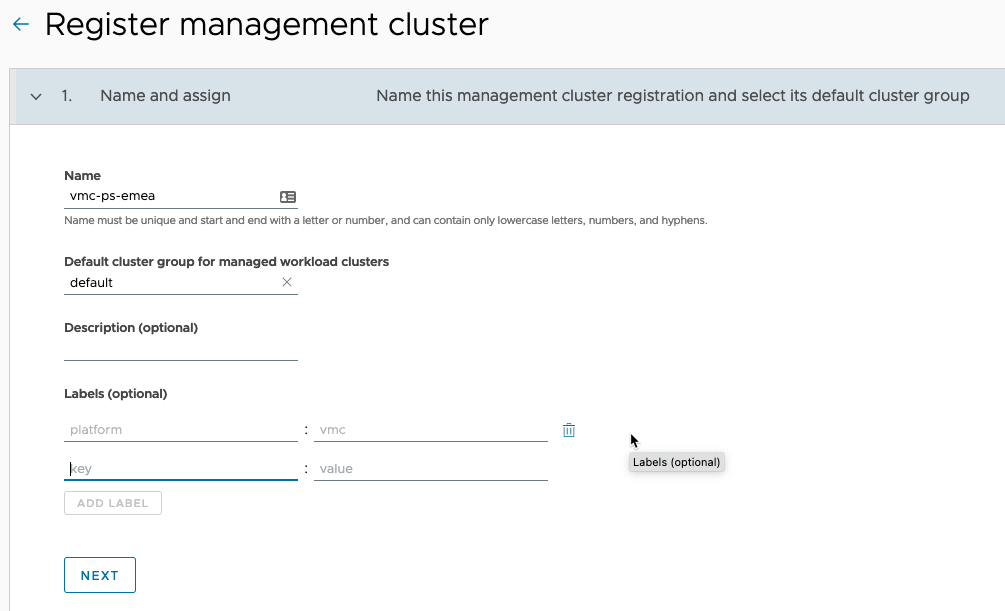
On the Register Management Cluster page:
- Set the friendly name for the cluster in TMC
- Select the default cluster group for managed workload clusters to be added into
- Set any description and labels as necessary
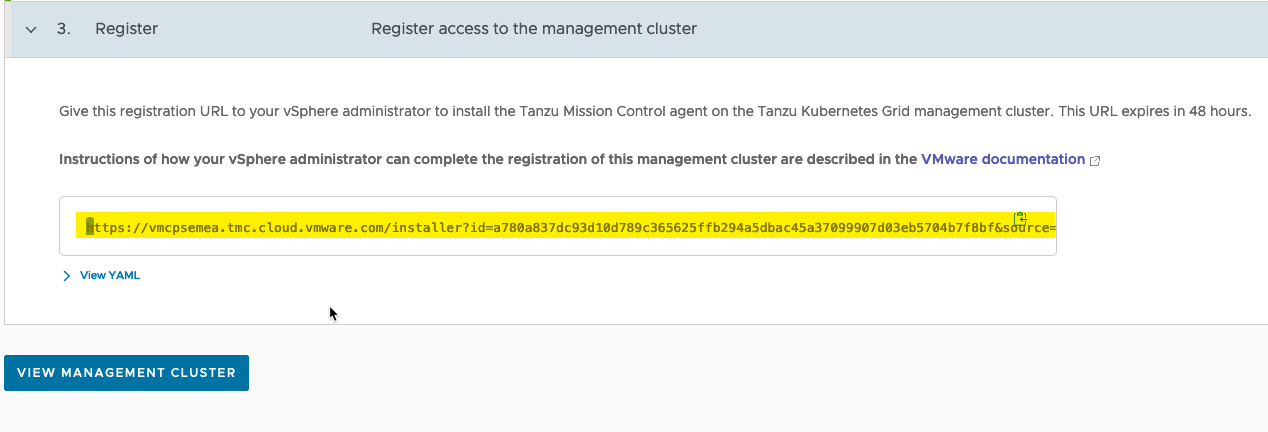
- Proxy settings for a Supervisor Cluster running in VMC are not supported, so ignore Step 2.
- Copy the registration URL.
- Log into your vSphere with Tanzu Supervisor cluster.
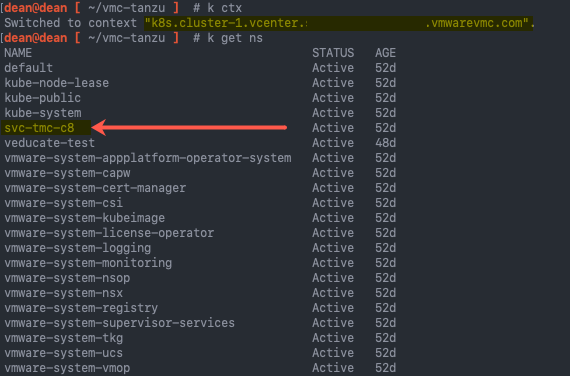
- Find the namespace that identifies your cluster and is used for TMC configurations, “kubectl get ns”
- It will start “svc-tmc-xx”
- Copy this namespace name
Below is the file construct that you will apply to your supervisor cluster, to configure the TMC components.
- Set the namespace
- Set the Registration URL from the TMC create a cluster workflow.
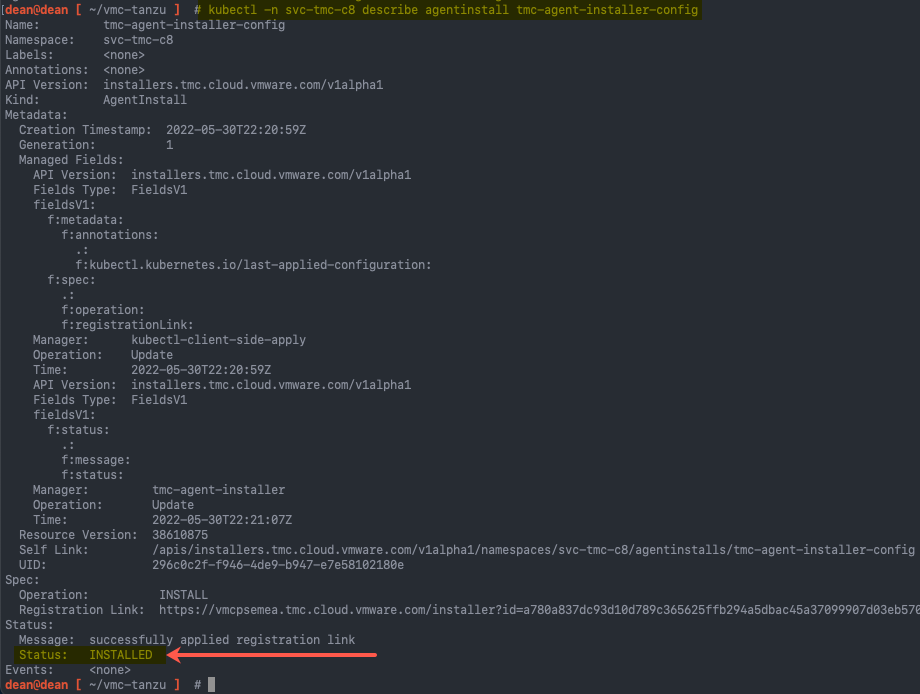
You can save this as a YAML file and apply it, or pipe it into the “kubectl apply” command, as per my screenshot.
apiVersion: installers.tmc.cloud.vmware.com/v1alpha1
kind: AgentInstall
metadata:
  name: tmc-agent-installer-config
  namespace: TMC-NAMESPACE
spec:
  operation: INSTALL
  registrationLink: TMC-REGISTRATION-URL
Once the file is applied, you can check the settings as per the below command. This first command checks a CRD for the status of the TMC setup.
kubectl -n {namespace} describe agentinstall tmc-agent-installer-config
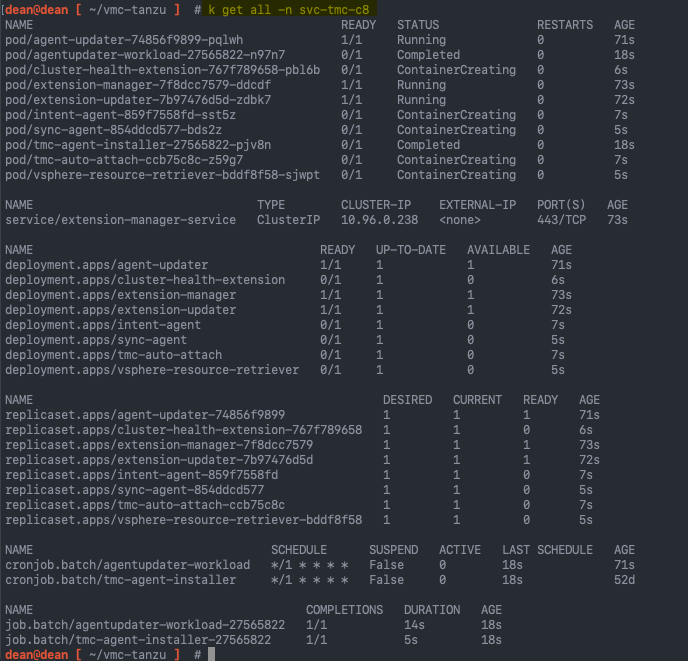
You can check all the components within the namespace.
kubectl get all -n {namespace}
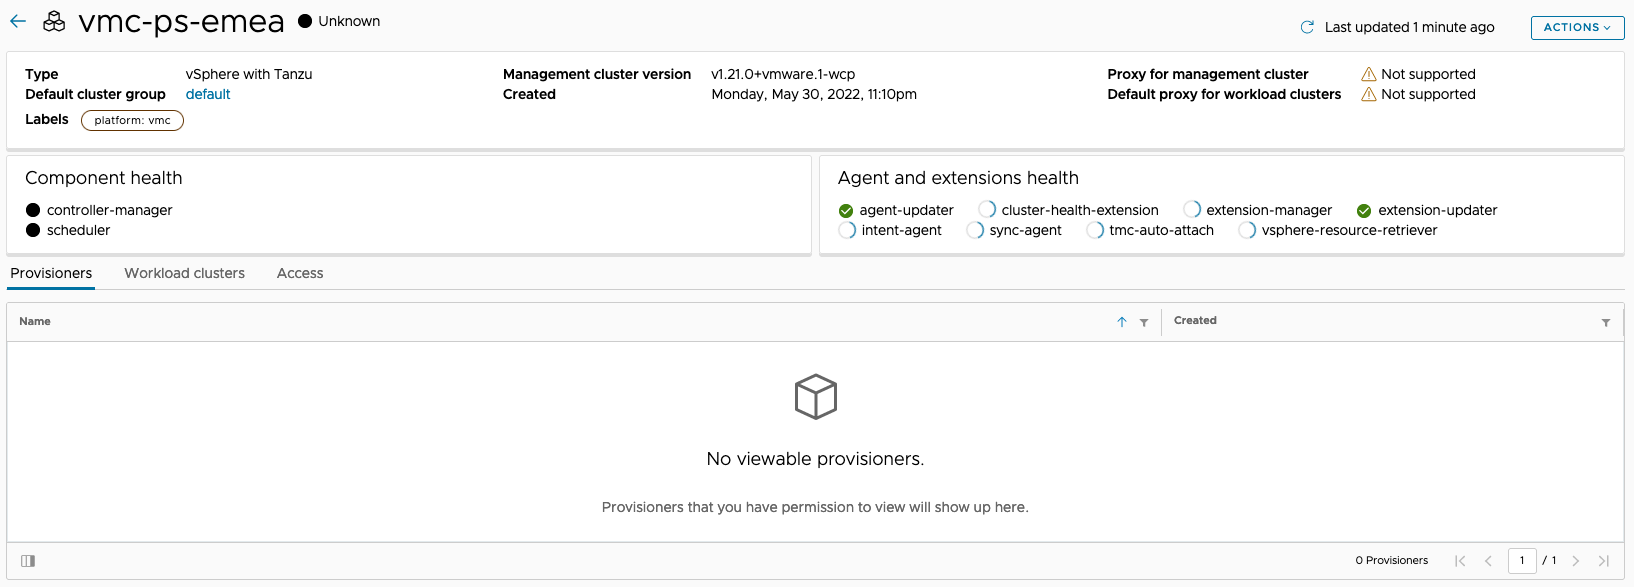
Within the TMC console, checking your management cluster object, you’ll see the information slowly populate as all the pods come online within the cluster.
Once completed and a full sync is done, you’ll see the provisioners section populate. Because this is a Supervisor Cluster, these are the vSphere namespaces, and are used to as the placement for any created clusters.
Official Documentation – Tanzu Mission Control
- Register a Management Cluster with Tanzu Mission Control
- Complete the Registration of a Supervisor Cluster in vSphere with Tanzu
Managing existing Tanzu Kubernetes Guest Clusters
Clicking on the Workload Clusters tab, you’ll be able to manage any Guest Clusters deployed by the Supervisor Cluster.
Note: These are guest clusters due to this being a vSphere with Tanzu environment.

In Tanzu Kubernetes Grid, they are referred to as Workload Clusters.

TMC standardises on the latter naming.

Source
Select the cluster/s and click the Manage Cluster button.
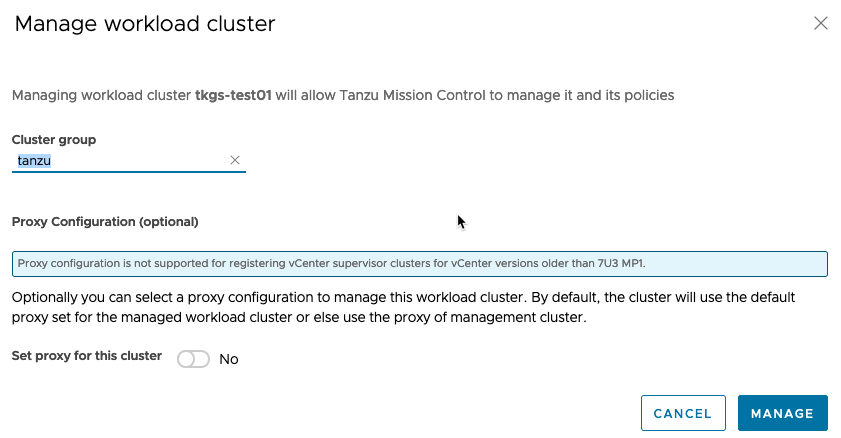
Select which cluster group you want to add the cluster too, and if proxy settings are necessary. Click manage.
You will then see after a few moments or so, that the cluster will change status to Managed = Yes.
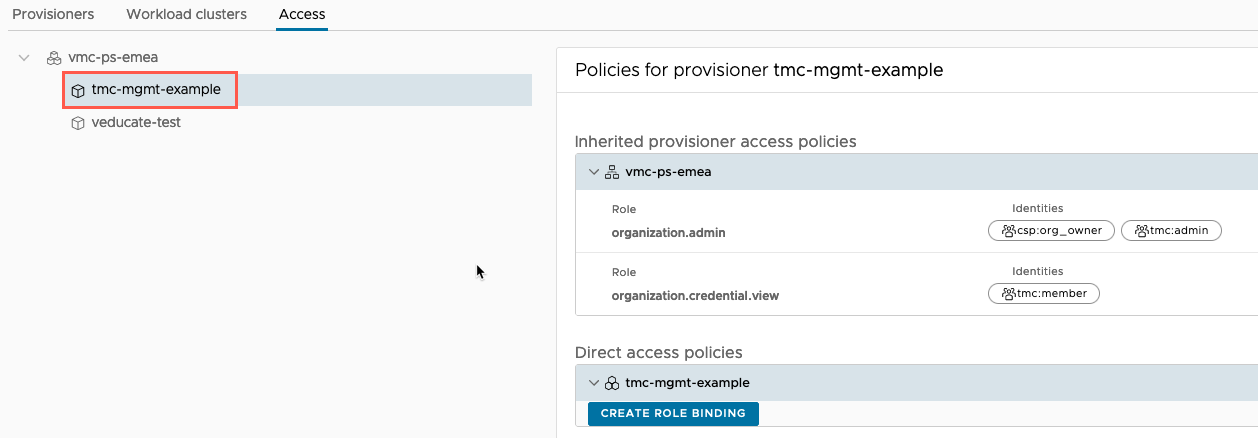
On the final tab, access, you can assign any role bindings to the vSphere namespaces, as part of TMC workspace authentication features.
Create a Tanzu Kubernetes Grid Service Cluster using TMC
Now we are ready to create a cluster using TMC.
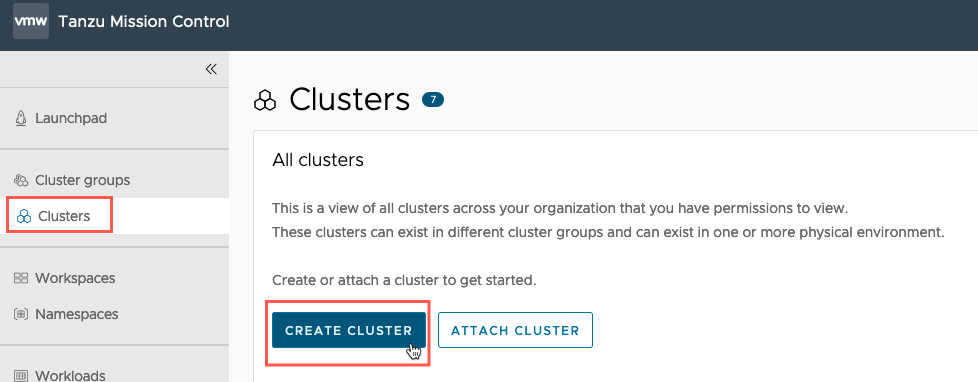
Click Clusters Tab from the left-hand navigation window, then “Create Cluster” button.
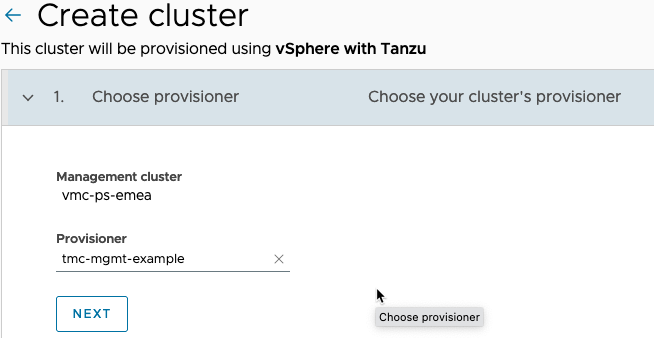
Select the Management Cluster you want to provision to, for this blog, it’s going to be the Supervisor Cluster running in VMC.
Select the provisioner, remember this will be the vSphere Namespace deployed in the VMC environment.
- TMC doesn’t have the ability to create new vSphere Namespaces itself. This will always need to be completed within vCenter or via the Kubernetes API of the Supervisor Cluster.
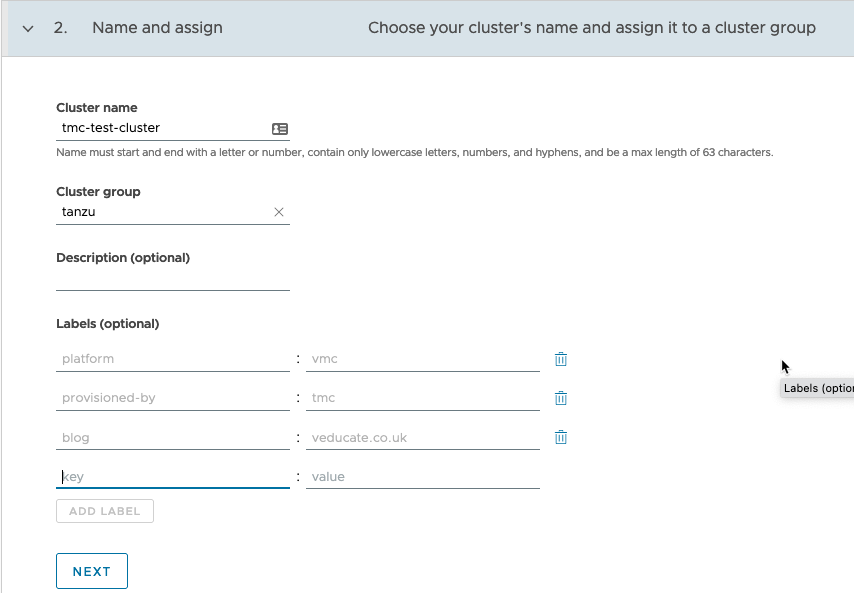
- Set the name for your new cluster
- Select which cluster group to place the cluster object into
- Set any description and labels as necessary
Click next.
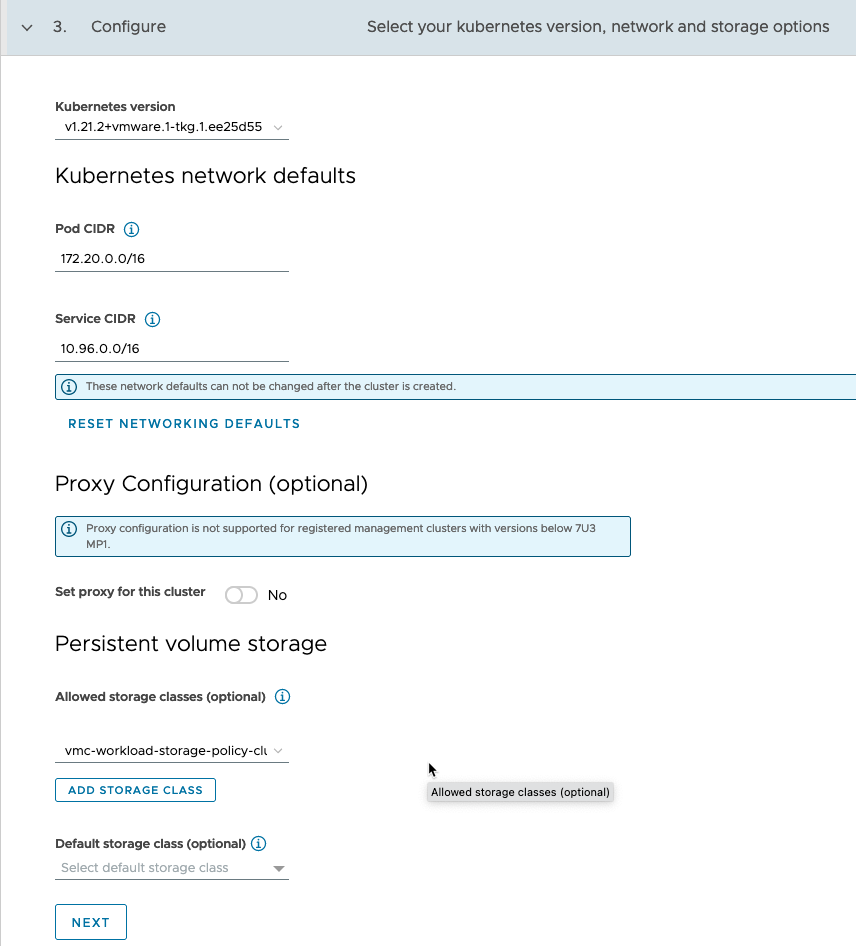
- Select the Kubernetes version you want to deploy
- The network CIDRs for pods and services
- Any proxy configuration as necessary
- Guest clusters running in VMC can use a proxy to connect to TMC.
- Set the persistent volume storage classes
Click next.
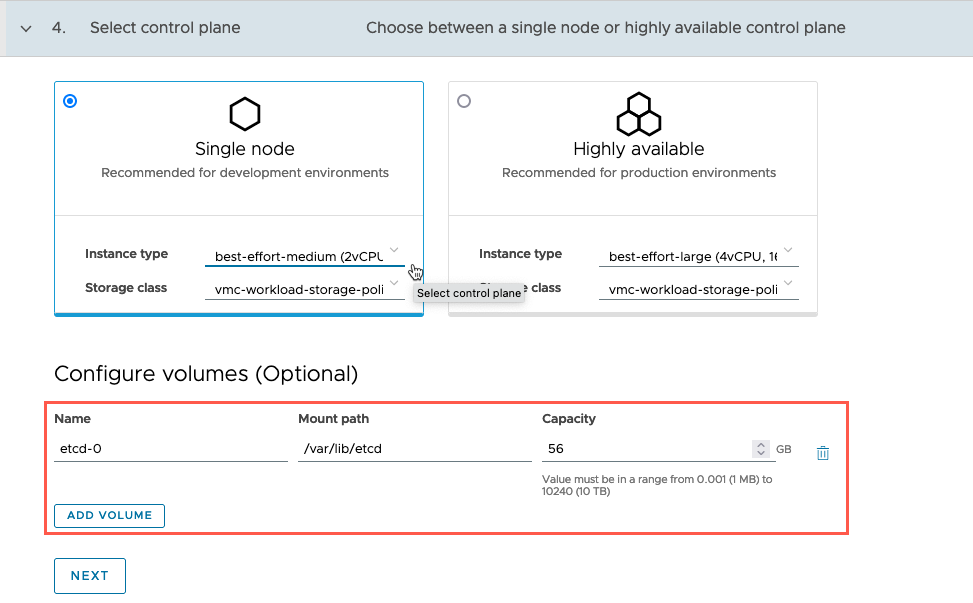
- Select the control plane plan, either single node “dev” or highly available “prod” plans.
- Set the instance type and storage class
- Configure additional volumes as necessary
- As this is a new feature in TMC, I decided to create a specific volume for the ETCD service.
Click next.
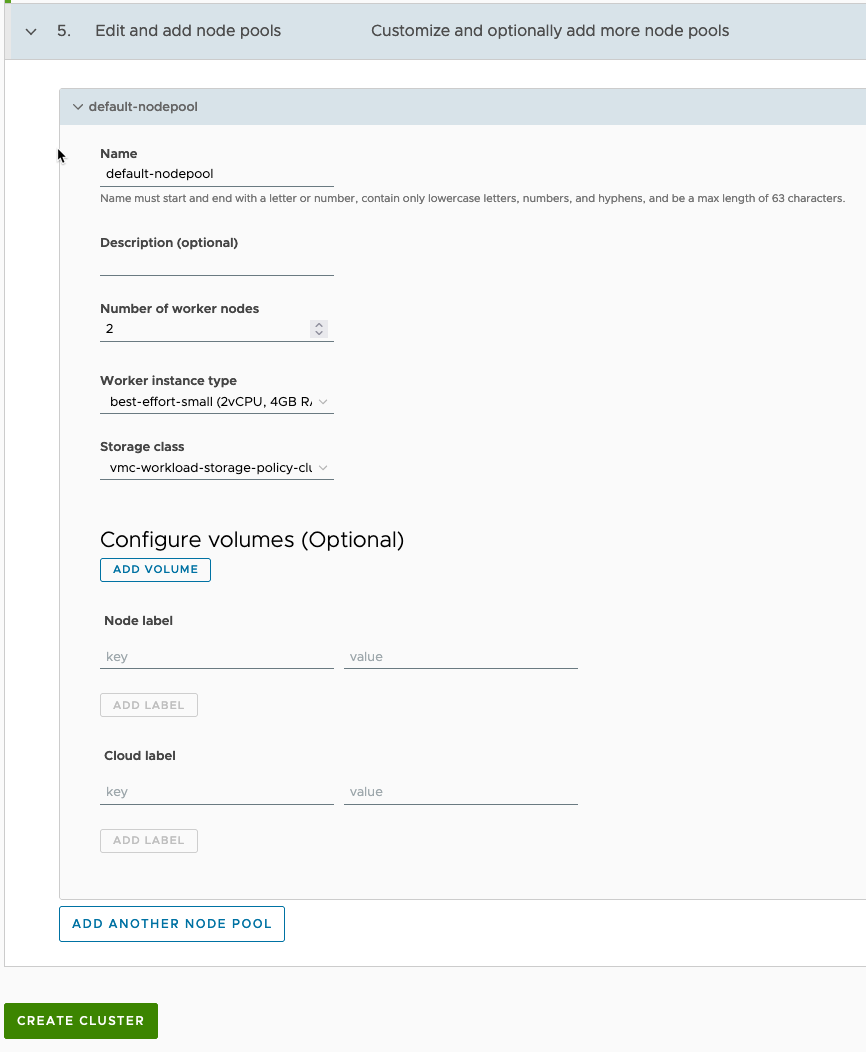
Configure the node pools for the worker nodes that are deployed.
Click Create Cluster.
You’ll be taken to the new cluster object page and see a loading bar.
Within vCenter, if you move into the Workload Management view, and select the vSphere namespace where you provisioned the cluster, under the Compute tab, you’ll see the new cluster being provisioned.
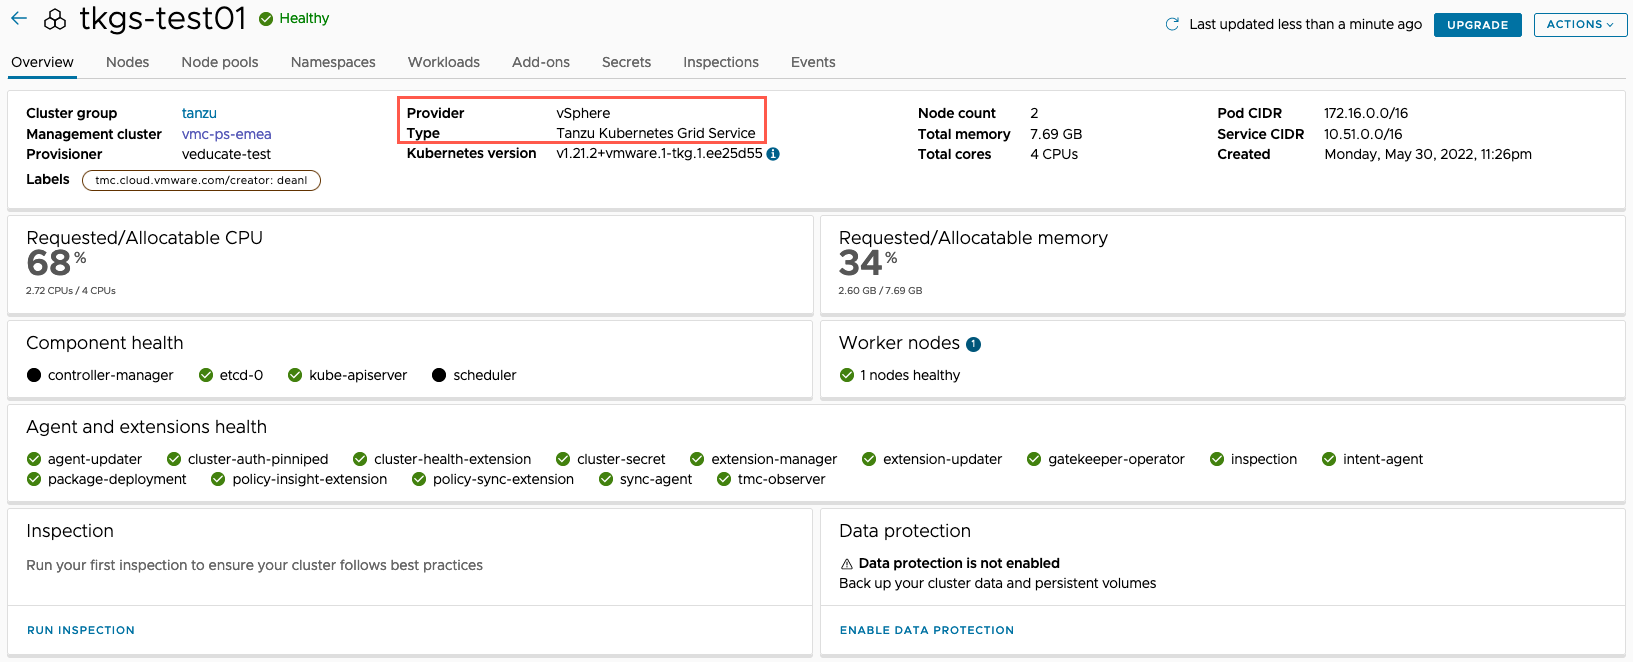
Once provisioned, you’ll see the cluster information populate, with the Cluster Type set as “Tanzu Kubernetes Grid Service”.
You can then view the rest of the tabs the same as other attached or provisioned clusters.
Upgrade a Tanzu Kubernetes Cluster using TMC
Below I’ve captured a few screenshots on upgrading the cluster to the latest available Kubernetes version.
When available, the upgrade button will show.
When a cluster is in the process of upgrading, you’ll see this within the TMC console, and within vCenter Workload Management view.
For more information on upgrading a cluster using TMC, see this blog post.
Regards
