vRealize Automation - Property groups deep dive
I had the pleasure of working with a customer who wanted to use property groups within vRealize Automation, to provide various configuration data to drive…
Read guide →19 vEducate articles tagged vRA. Page 2 of 4.
I had the pleasure of working with a customer who wanted to use property groups within vRealize Automation, to provide various configuration data to drive…
Read guide →In this blog post I am covering the vRealize Automation native feature that allows you to deploy Tanzu clusters via the Tanzu Kubernetes Grid Service of…
Read guide →Looking at the latest vRA Cloud Template Schema, I saw something interesting in the definitions. The ability to have a resource type of "codestream.execution".…
Read guide →This follow on blog post, diving into how we created the vRA integration with DMS comes from Katherine Skilling, who kindly offered to guest spot and provide…
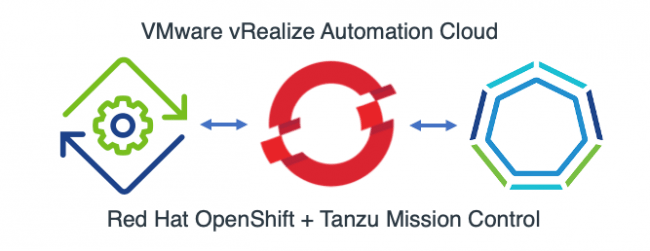
Read guide →This walk-through will detail the technical configurations for using vRA Code Stream to deploy Red Hat OpenShift Clusters, register them as Kubernetes…
Read guide →